
Discover the Joy of Baking Heartfelt Brownies
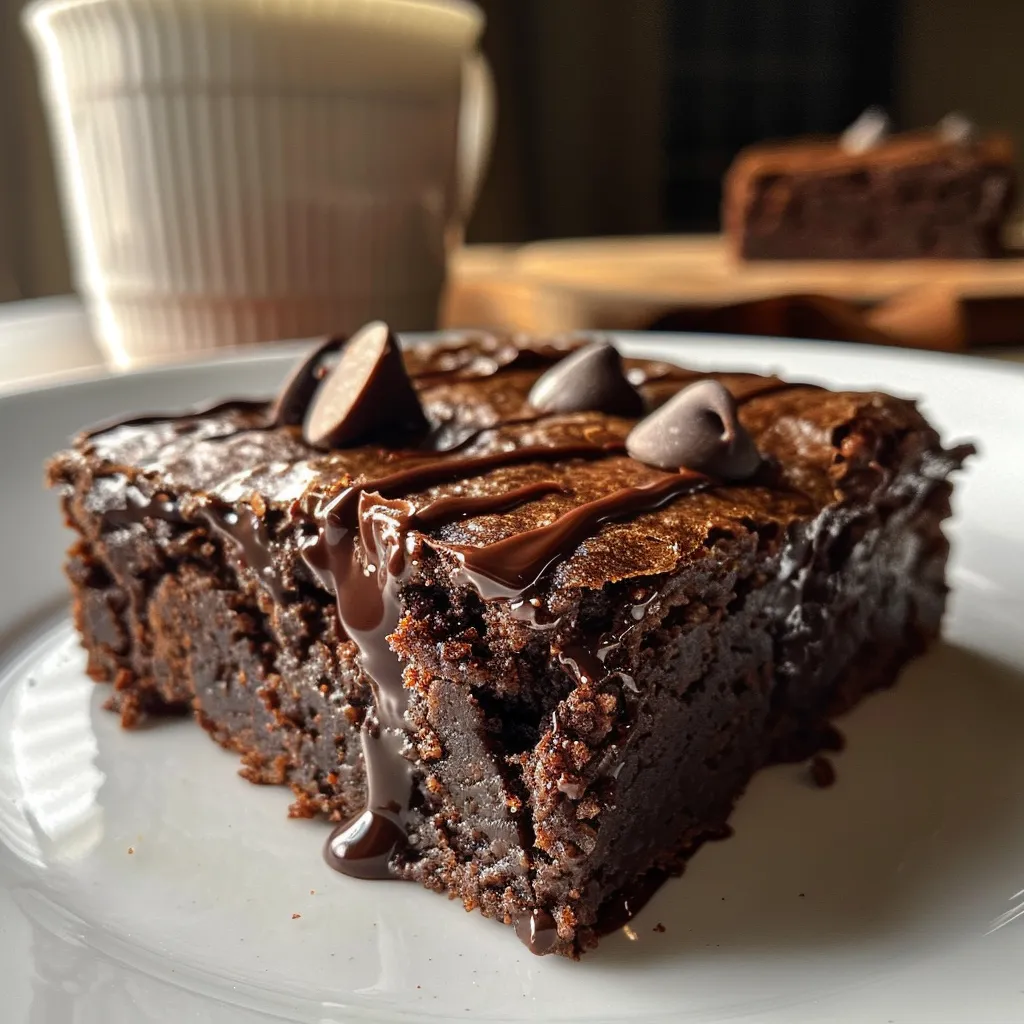
When it comes to baking, nothing brings more warmth and joy than the aroma of freshly baked brownies wafting through your home. These Gluten-Free Oat Flour Brownies are not just a treat; they’re a bridge to sweet memories and cherished moments shared with loved ones. Made with simple, wholesome ingredients, this recipe transforms ordinary moments into something extraordinary. In this guide, we’ll dive deep into the heart of these brownies, covering everything from ingredients to tips and tricks to ensure your baking experience is nothing short of delightful.
Why You’ll Love This Recipe
These brownies are more than just a dessert; they are a celebration of love and togetherness. Here are five reasons why you’ll adore this recipe:
- Gluten-Free Delight: Made with oat flour, these brownies are perfect for those avoiding gluten, ensuring everyone at your table can enjoy a slice.
- Rich Chocolate Flavor: With cocoa powder and chocolate chips, every bite is a deep, fudgy indulgence that will satisfy even the most serious chocolate cravings.
- Simple Ingredients: You don’t need to scour specialty stores for ingredients—this recipe calls for basic pantry staples that you likely already have.
- Quick and Easy: Prep and baking time is minimal, allowing you to whip up these brownies whenever the craving strikes or when unexpected guests arrive.
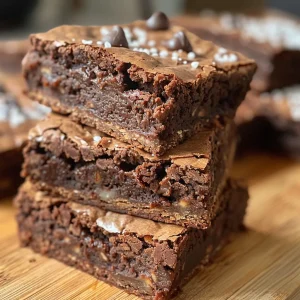
- Perfect for Sharing: Cut them into squares and share with family and friends, making every gathering a little sweeter and a lot more memorable.
Ingredients You Need for This Recipe
Gathering the right ingredients is the first step in creating your delicious brownies. Here’s a detailed breakdown of what you’ll need:
- 1 cup granulated sugar: This provides sweetness and helps achieve that fudgy texture.
- 2 tbsp boiling water: Mixing this with sugar enhances the sweetness and helps dissolve it effectively.
- 1/2 cup melted butter: Using butter adds richness and flavor to the brownies.
- 1/2 tsp vanilla extract: A must for that aromatic, warm flavor that complements chocolate beautifully.
- 2 large beaten eggs: These help bind the ingredients together and contribute to the moistness of the brownies.
- 3/4 cup oat flour: The star of our recipe, oat flour gives the brownies a unique texture and keeps them gluten-free.
- 1/2 tsp baking powder: This leavening agent helps the brownies rise slightly.
- 3/4 tsp salt: Balances the sweetness and enhances the overall flavor.
- 2/3 cup cocoa powder: Provides that rich chocolatey goodness we all love in brownies.
- 1/2 cup powdered sugar: Adds a touch of sweetness and helps create that fudgy texture.
- 1/2 cup mini dark chocolate chips: For those extra melty pockets of chocolate that make every bite a delight.
How to Make These Gluten-Free Brownies
Let’s get baking! Follow these simple steps to create your brownies:
- Preheat your oven to 325°F (163°C). Spray an 8×8 baking dish with cooking spray and line it with parchment paper. Don’t forget to spray the parchment paper as well!
- In a medium bowl, combine the powdered sugar, baking powder, oat flour, cocoa powder, salt, and mini chocolate chips.
- In a large bowl, mix the granulated sugar with the boiling water. Stir in the melted butter, vanilla extract, and beaten eggs until everything is well combined.
- Sprinkle the dry ingredient mixture over the wet ingredients and gently stir until just combined. Be careful not to over-mix; a few lumps are perfectly fine.
- Pour the batter into the prepared pan and smooth the top with a spatula. Bake for approximately 45 minutes, or until a toothpick comes out mostly clean. Allow the brownies to cool for about 2 hours before cutting into squares.
Expert Tips for Making Healthy Brownies
To elevate your brownie baking game, consider these expert tips:
- Use high-quality cocoa powder: The better the cocoa, the richer your brownies will taste. Look for unsweetened cocoa powder for the best results.
- Don’t over-mix: Over-mixing can lead to dense brownies. Stir until just combined for that perfect fudgy texture.
- Let them cool completely: Cutting into the brownies while they’re still warm can lead to a gooey mess. Patience is key!
- Experiment with add-ins: Consider adding nuts, dried fruit, or a sprinkle of sea salt on top for added flavor and texture.
- Store properly: Keep brownies in an airtight container at room temperature for up to 3 days, or refrigerate for longer freshness.
- Make them dairy-free: Substitute butter with coconut oil and use dairy-free chocolate chips.
- Try different flours: If you want to experiment, you can substitute oat flour with almond flour or a gluten-free all-purpose blend.
- Add a kick of flavor: A dash of espresso powder enhances the chocolate flavor without adding a coffee taste.
Common Mistakes and Troubleshooting
Even the best bakers can run into issues. Here are common mistakes to avoid:
- Using old ingredients: Always check the expiration dates on your baking powder and cocoa powder for the best results.
- Incorrect oven temperature: Always preheat your oven. An oven thermometer can help ensure your brownies bake evenly.
- Not lining the pan: This can lead to brownies sticking to the pan. Parchment paper makes for easy removal and cleanup.
- Overbaking: Keep an eye on the brownies as they bake; ovens can vary in temperature. Take them out when a toothpick comes out with a few moist crumbs.
Variations to Try
Want to switch things up? Here are some delightful variations you can try:
- Nutty Brownies: Add 1/2 cup of chopped nuts like walnuts or pecans for a crunchy texture.
- Peanut Butter Swirl: Drop spoonfuls of peanut butter into the batter before baking and swirl with a knife for a creamy twist.
- Mint Chocolate Chip: Add a few drops of mint extract and substitute chocolate chips with mint-flavored ones.
- Caramel Drizzle: Drizzle caramel sauce over the top before serving for an extra indulgent treat.
Storage and Make-Ahead Instructions
You can prepare these brownies ahead of time for gatherings or meal prep:
- Room Temperature: Store in an airtight container for up to 3 days.
- Refrigerator: They can last up to a week when stored properly in the fridge.
- Freezing: Wrap brownies tightly in plastic wrap and freeze for up to 3 months. Thaw at room temperature before serving.
Frequently Asked Questions
Here are some common questions about making these delightful brownies:
- Can I substitute the oat flour with all-purpose flour? Yes, but this recipe is designed to be gluten-free, so consider the texture and flavor differences.
- How do I know when my brownies are done? A toothpick inserted in the center should come out with a few moist crumbs.
- What can I use instead of eggs? You can use flax eggs (1 tbsp ground flaxseed + 2.5 tbsp water = 1 egg) or unsweetened applesauce as substitutes.
- Can I make these vegan? Yes, by substituting the eggs with flax eggs and using dairy-free butter and chocolate chips.
- How can I enhance the chocolate flavor? Adding a teaspoon of espresso powder can deepen the chocolate taste without being noticeable.
- Why are my brownies cakey? Overmixing or using too much flour can lead to a cakey texture. Stir gently and measure accurately.
- Can I double the recipe? Absolutely! Just make sure to bake them in a larger pan and adjust the baking time accordingly.
- What toppings can I add? Consider adding whipped cream, ice cream, or a dusting of powdered sugar for a beautiful presentation.
Nutritional Tips and Dietary Adaptations
These brownies can easily fit into various dietary needs:
- Lower Sugar Option: Substitute granulated sugar with coconut sugar or a sugar substitute designed for baking.
- Reduced Fat Version: Replace half of the butter with unsweetened applesauce for a lower-fat brownie.
- High-Protein Twist: Mix in a scoop of protein powder to the dry ingredients for a protein boost.
Equipment Recommendations
To make your brownie-baking experience even better, consider these essential tools:
- 8×8 Baking Dish: Perfect for achieving that ideal brownie thickness.
- Parchment Paper: Helps prevent sticking and makes for easy cleanup.
- Mixing Bowls: A set of various sizes ensures you have what you need for mixing ingredients.
- Whisk and Spatula: Essential for combining ingredients and smoothing the batter.
Serving Suggestions
These brownies shine on their own, but here are some delightful serving ideas:
- À La Mode: Serve warm brownies with a scoop of vanilla ice cream on top.
- With Whipped Cream: A dollop of whipped cream adds a lightness that balances the rich chocolate.
- Paired with Coffee: Enjoy these brownies with a cup of coffee or espresso to enhance the chocolate flavors.
- Decorative Plating: Dust with powdered sugar or drizzle with chocolate syrup for a beautiful presentation.
Whether you’re baking for a special occasion or just because, these Gluten-Free Oat Flour Brownies are sure to bring smiles and sweet memories to the table. Remember, cooking is about more than just the food; it’s about love, connection, and sharing those moments that matter most. Happy baking!
Gluten-Free Oat Flour Brownies
Ingredients
Dry ingredients
- 1 cup granulated sugar
- 3/4 cup oat flour
- 1/2 tsp baking powder
- 3/4 tsp salt
- 2/3 cup cocoa powder
Wet ingredients
- 2 tbsp water (boiling)
- 1/2 cup butter (melted)
- 1/2 tsp vanilla extract
- 2 large eggs (beaten)
Chocolate chips
- 1/2 cup mini dark chocolate chips
Additional ingredients
- 1/2 cup powdered sugar
Instructions
- Preheat oven to 325°F. Line an 8x8 baking dish with parchment paper and spray with cooking spray.
- Mix powdered sugar, baking powder, oat flour, cocoa powder, salt, and chocolate chips in a bowl.
- Combine sugar with boiling water, then add melted butter, eggs, and vanilla. Mix well.
- Stir dry ingredients into wet mixture until just combined. Pour into prepared pan.
- Bake for 45 minutes, cool for 2 hours before cutting.