
Welcome to the World of Nourishing Energy Balls
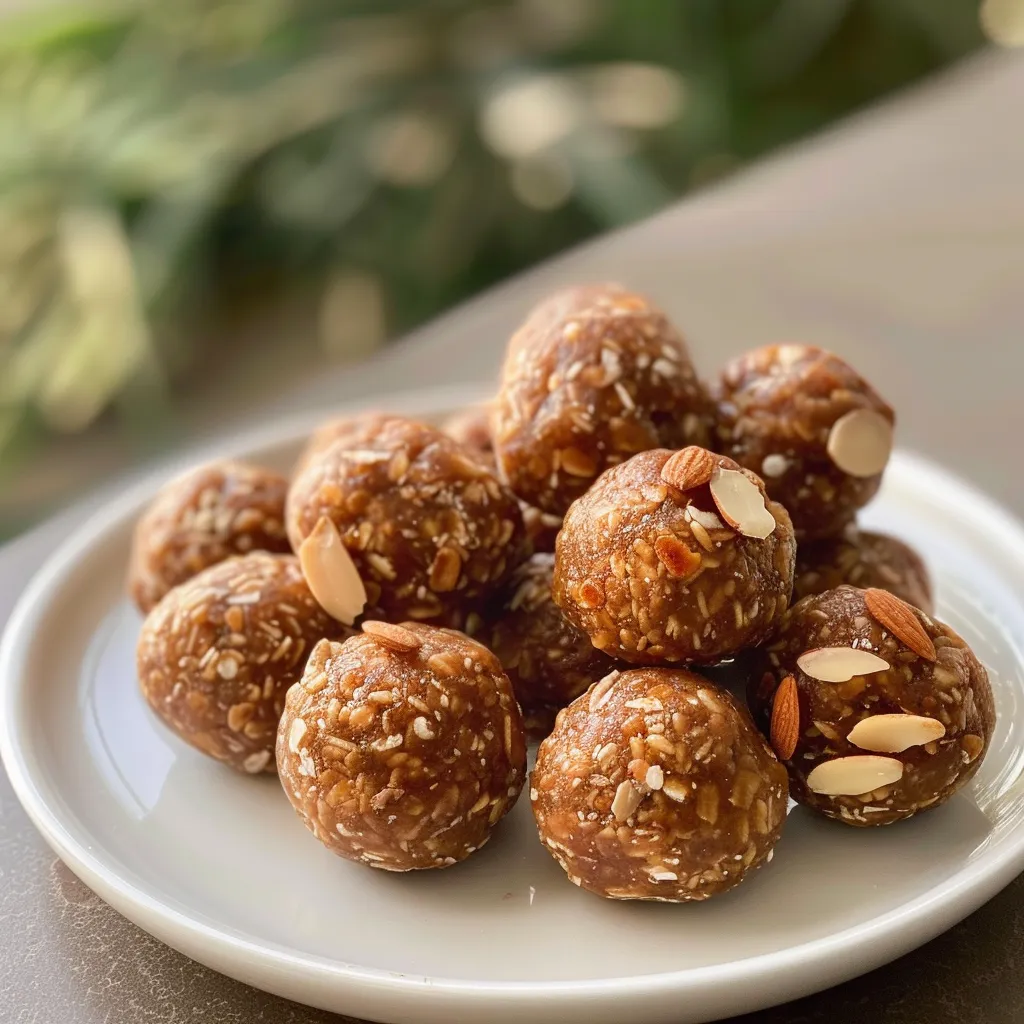
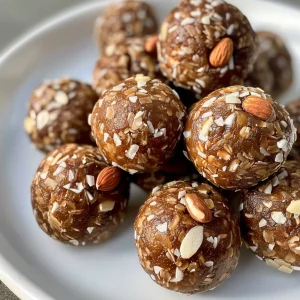
There’s something magical about the simple act of creating energy balls. These delightful snacks are not just about satisfying hunger; they’re a heartfelt expression of care and love. Whether you’re fueling up for a busy day or sharing a moment with friends and family, energy balls offer nourishment wrapped in nostalgia. Today, I’m excited to share my cherished recipe for Nourishing Energy Balls, made from wholesome medjool dates, almonds, and almond butter. Together, let’s explore the joy of making these little bites of happiness!
Why You’ll Love This Recipe
Here are just a few reasons why these energy balls will become a staple in your kitchen:
- Quick and Easy: With just a few ingredients and a food processor, you can whip these up in minutes.
- Nutrient-Packed: Each bite is filled with healthy fats, fiber, and natural sugars, perfect for keeping your energy levels steady.
- Customizable: Feel free to play with the ingredients, swapping nuts or add-ins to suit your taste.
- No Baking Required: These energy balls are a no-bake recipe, making them perfect for those hot summer days.
- Perfect for Sharing: Whether it’s a picnic or a family gathering, these bites are a hit!
Ingredients Breakdown
Making energy balls is simple, but understanding your ingredients is key. Here’s what you’ll need:
- 1 cup medjool dates: These provide natural sweetness and a sticky texture that helps bind everything together. Tip: If they’re dry, soak them in warm water for about 10 minutes.
- 1 cup almonds (or nuts/seeds of choice): Packed with protein and healthy fats. Try cashews or walnuts for a different flavor.
- 2-3 tablespoons almond butter (or nut/seed butter of choice): This adds creaminess and helps hold the mixture together. Peanut butter or sunflower seed butter works great too!
How to Make Energy Balls
Follow these simple steps to create your own nourishing energy balls:
- Add all the ingredients into a food processor and blend until the mixture is well combined and slightly sticky.
- Take about 1 tablespoon of the mixture and roll it into bite-sized balls.
- Store in the fridge or freezer for the best texture. They’re perfect for a quick snack anytime!
Pro Tips for Perfect Energy Balls
Here are some expert insights to elevate your energy ball game:
- Texture Matters: For a smoother texture, blend the mixture longer. For a chunkier bite, pulse until just combined.
- Experiment with Flavors: Add a teaspoon of vanilla extract or a pinch of sea salt for enhanced flavor.
- Chill Before Rolling: If your mixture is too sticky, refrigerate it for 15-30 minutes before rolling into balls.
- Make-ahead Magic: These energy balls can be made in advance and stored in the fridge or freezer for quick snacking.
- Don’t Skip the Mix-ins: Mix in chocolate chips, shredded coconut, or dried fruit for added texture and flavor.
- Serving Size: Keep in mind that these bites are nutrient-dense. A few go a long way!
- Keep it Clean: Use a small cookie scoop for uniform balls and less mess.
- Mind the Sugar: Adjust the number of dates based on your sweetness preference.
Common Mistakes and Troubleshooting
Here are some common pitfalls and how to avoid them:
- Too Sticky: If your mixture is too sticky, add a tablespoon of oats or nuts to help absorb the moisture.
- Too Dry: If it crumbles and won’t form into balls, add a bit more nut butter or a splash of water.
- Flavorless: Always taste your mixture before rolling. Adjust sweetness or add spices to enhance flavor.
Variations to Try
Once you’ve mastered the basic recipe, try these fun variations:
- Chocolate Chip Energy Balls: Fold in mini chocolate chips for a sweet treat.
- Protein-Packed Balls: Add a scoop of protein powder to boost the nutrient content.
- Spiced Pumpkin Energy Balls: Replace dates with dried figs and add pumpkin spice for a fall twist.
- Fruit and Nut Medley: Incorporate dried cranberries or apricots and walnuts for a burst of flavor.
Storage and Make-Ahead Instructions
Proper storage is essential for maintaining the freshness and flavor of your energy balls:
- In the Fridge: Store in an airtight container for up to one week.
- In the Freezer: They can be frozen for up to three months. Just let them thaw in the fridge before enjoying!
- On-the-Go: Pack them in a small container for a quick and nutritious snack anytime, anywhere.
Frequently Asked Questions
Here are some common questions about making energy balls:
- Can I use other nuts? Absolutely! Feel free to swap almonds with your favorite nuts or seeds.
- How long do they last? When stored properly, they can last up to a week in the fridge and three months in the freezer.
- Can I make these vegan? Yes! Just use a plant-based nut butter and ensure your add-ins are vegan-friendly.
- What if I don’t have a food processor? A high-quality blender can work as a substitute, just be cautious not to over-blend.
- Can I use other sweeteners? Yes! Maple syrup or honey can be used, but keep in mind it may alter the texture.
- What’s the best way to serve them? They’re perfect as a quick snack, pre-workout fuel, or a sweet treat for gatherings.
- Can I double the recipe? Yes! Just ensure your food processor can handle the larger quantity.
- Are they gluten-free? Yes! As long as you use gluten-free oats or nuts, these energy balls are gluten-free.
Nutritional Tips and Dietary Adaptations
If you’re looking to enhance the nutritional profile of your energy balls:
- Add Fiber: Incorporate ground flaxseeds or chia seeds for an extra fiber boost.
- Protein Options: Consider adding protein powder or using a protein-rich nut butter.
- Low Sugar: Adjust the number of dates or use unsweetened nut butter to reduce sugar content.
Equipment Recommendations
To make your energy ball-making experience seamless, here are some essential tools:
- Food Processor: This is crucial for blending ingredients smoothly.
- Measuring Cups and Spoons: Accurate measurements ensure consistent results.
- Cookie Scoop: A handy tool for forming uniform balls.
- Airtight Containers: Essential for storing your energy balls and keeping them fresh.
Serving Suggestions
These energy balls are versatile and can be enjoyed in various ways:
- Breakfast Boost: Pair them with yogurt and fresh fruit for a wholesome breakfast.
- Post-Workout Snack: They’re perfect for replenishing energy after a workout.
- Party Treat: Arrange them on a platter for a healthy addition to any gathering.
Conclusion
As we wrap up this journey into the world of nourishing energy balls, remember that cooking is about more than just following a recipe; it’s about sharing moments of joy and love. These little bites are not only delicious but also a testament to the power of homemade goodness. I invite you to try this recipe, share it with your loved ones, and create your own cherished memories in the kitchen. Happy cooking!
Basic Energy Ball Recipe
Ingredients
Dried Fruits
- 1 cup medjool dates
- 1 cup almonds (or nuts/seeds of choice)
- 2 - 3 tablespoons almond butter (or nut/seed butter of choice)
Instructions
- Add all ingredients into a food processor and blend until combined.
- Take 1 tablespoon of the mixture and roll into balls.
- Store in the fridge or freezer for best texture.