
Why Baking Homemade Bread is a Must-Try Experience
Baking bread is more than just a culinary task; it’s a beautiful journey filled with aroma, warmth, and love. There’s something incredibly special about kneading dough, watching it rise, and finally savoring that first warm slice. In this guide, I’ll share with you my cherished recipe for homemade bread that not only satisfies your taste buds but also fills your home with a sense of nostalgia. With simple ingredients and heartfelt techniques, you’ll create a loaf that brings families together, just like my grandmother did in her cozy Louisiana kitchen.
What You’ll Love About This Recipe
This isn’t just any bread recipe; it’s one that embodies warmth and comfort. Here’s why you’ll adore this homemade bread:
- Easy to Follow: The step-by-step instructions make this bread accessible for all skill levels, whether you’re a novice or a seasoned baker.
- Minimal Ingredients: With just a handful of basic ingredients, you’ll create a loaf bursting with flavor—no fancy equipment needed!
- Family Tradition: This recipe has been passed down through generations, making it a delightful way to connect with your roots.
- Customizable: You can easily adapt this recipe to suit your taste by adding herbs, spices, or even dried fruit.
- Perfect for Sharing: There’s nothing like the joy of serving freshly baked bread to loved ones—it’s a warm hug in food form.
Gathering Your Ingredients
Before you dive into the baking process, let’s take a closer look at the ingredients you’ll need, along with some handy substitutions:
- 2 cups warm water: (105-115°F) This is the perfect temperature for activating the yeast. If you don’t have a thermometer, it should feel warm but not hot to the touch.
- 1 Tablespoon active dry yeast: This is the magic ingredient that helps your dough rise. You can substitute it with instant yeast using the same amount.
- 1/4 cup honey: Not only does it sweeten the bread, but it also adds a lovely depth of flavor. You can replace it with granulated sugar if necessary.
- 2 teaspoons salt: A critical element that enhances the overall flavor of the bread.
- 2 Tablespoons canola oil: This keeps the bread moist and gives it a tender crumb. Olive oil can also be used for a richer taste.
- 4 to 5 1/2 cups all-purpose flour: Start with 4 cups and add more as needed until your dough is workable and not too sticky.
The Step-by-Step Process to Bread Bliss
Now that you have your ingredients ready, let’s get to the heart of the matter—making your bread!
Step 1: Activating the Yeast
In a large mixing bowl, combine 2 cups of warm water, 1 Tablespoon of active dry yeast, and 1/4 cup of honey. Let this mixture sit for 5-10 minutes until it becomes foamy. This indicates that the yeast is alive and ready to work its magic.
Step 2: Mixing the Dough
Add 2 teaspoons of salt and 2 Tablespoons of canola oil to the yeast mixture, stirring gently to combine. Gradually add in 4 cups of all-purpose flour, mixing until a shaggy dough begins to form.
Step 3: Kneading the Dough
Turn the dough out onto a lightly floured surface. Knead for about 8-10 minutes until the dough is smooth and elastic. If the dough is too sticky, don’t hesitate to add more flour, a tablespoon at a time.
Step 4: First Rise
Place the dough in a lightly greased bowl, cover it with a clean kitchen towel, and let it rise in a warm, draft-free place for 1-1.5 hours, or until it has doubled in size.
Step 5: Shaping the Loaf
Once your dough has risen beautifully, punch it down gently to release the air. Shape it into a loaf and place it on a parchment-lined baking sheet. Cover it loosely and let it rise again for 30-60 minutes until it looks puffy.
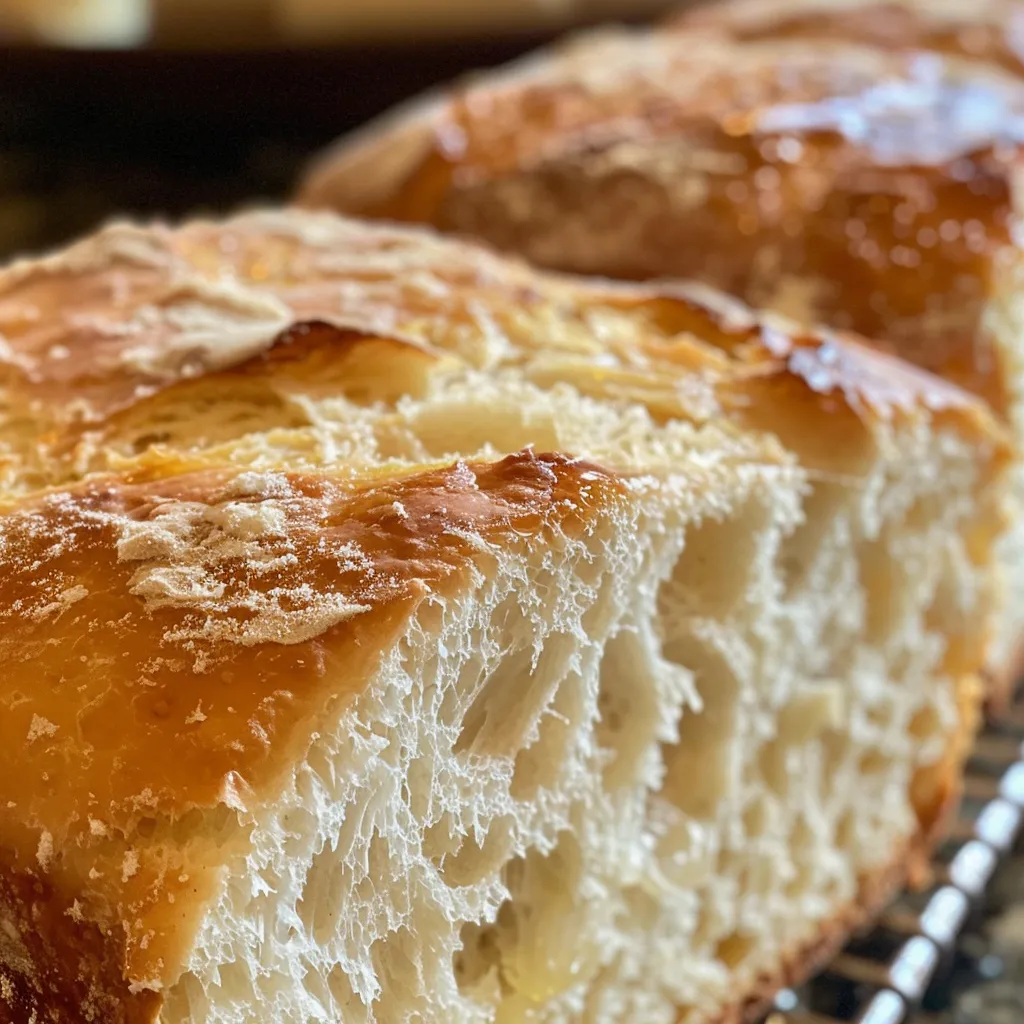
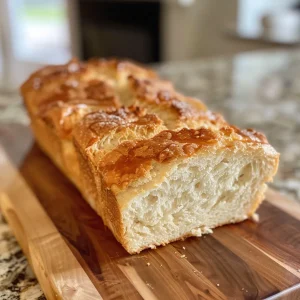
Step 6: Baking the Bread
Preheat your oven to 375°F (190°C). Bake the bread for 30-35 minutes, or until it turns a lovely golden brown and sounds hollow when tapped on the bottom. A thermometer inserted into the center should read about 200°F (93°C).
Pro Tips for Perfect Homemade Bread
Here are some expert insights to elevate your bread-making game:
- Temperature Matters: Make sure your water is at the right temperature. Too hot, and it will kill your yeast; too cold, and it won’t activate.
- Kneading Technique: Knead until the dough is smooth and elastic. This helps develop gluten, which gives bread its structure.
- Patience is Key: Allow the dough to rise fully. Rushing this step can lead to dense bread.
- Experiment with Flours: Try mixing whole wheat flour with all-purpose flour for added nutrition and flavor.
- Add Flavor: Incorporate herbs, spices, or cheese to make your bread uniquely yours.
- Don’t Skip the Steam: For a crustier loaf, place a pan of water in the oven while baking to create steam.
- Store Properly: Keep your bread in a paper bag or wrapped in a kitchen towel to maintain freshness.
- Use a Bread Machine: If you have one, feel free to use it for mixing and kneading, but the shaping and baking can still be done by hand for that personal touch.
Common Mistakes and Troubleshooting
Even the best bakers can face hiccups. Here are some common issues and how to solve them:
- Dough Won’t Rise: Check your yeast expiration date. If it’s expired, it won’t activate.
- Dense Bread: This can happen if the dough was over-kneaded or didn’t rise long enough.
- Too Crusty: If the crust is too hard, try reducing the baking time or adding steam as mentioned earlier.
- Underbaked Bread: If your bread is doughy in the center, it may need more time in the oven. Always check with a thermometer!
Variations to Try
Once you’ve mastered the basic bread recipe, here are some delightful variations to consider:
- Herb-Infused Bread: Add dried herbs such as rosemary or thyme to the dough for aromatic flavors.
- Cheddar and Chive Bread: Mix in shredded cheddar and chopped chives for a savory twist.
- Cinnamon Raisin Bread: Incorporate cinnamon and raisins for a sweet breakfast treat.
- Whole Wheat Bread: Substitute half the all-purpose flour with whole wheat flour for a hearty option.
Storage and Make-Ahead Instructions
Freshly baked bread is best enjoyed the same day, but it can be stored for up to 3 days at room temperature. To freeze, wrap it tightly in plastic wrap and then in aluminum foil. It can be frozen for up to 3 months. To reheat, simply place it in a preheated oven for about 10 minutes.
Frequently Asked Questions
Here are some common questions about making homemade bread:
- Can I use instant yeast instead of active dry yeast? Yes, use the same amount and skip the activation step.
- Why is my bread too dense? This could be due to not enough rise time or over-kneading.
- Can I make gluten-free bread? Yes, use a gluten-free flour blend and additional binding agents like xanthan gum.
- How can I tell if my bread is done baking? It should be golden brown and sound hollow when tapped.
- Can I add seeds or nuts to my bread? Absolutely! Just fold them into the dough during the mixing stage.
- What’s the best way to slice bread? Use a serrated knife for clean, even slices.
- How do I keep my bread fresh longer? Store it in a paper bag or wrap it in a kitchen towel.
- Can I double the recipe? Yes, but ensure your mixing bowl is large enough to handle the increased volume.
Nutritional Tips and Dietary Adaptations
This homemade bread can be adapted to suit various dietary needs:
- Low-Sugar Variation: Reduce the honey to 1 tablespoon or use a sugar substitute.
- Whole Grain Option: Substitute all-purpose flour with whole wheat flour for added fiber.
- Dairy-Free: Use vegetable oil instead of butter or milk for a dairy-free option.
Equipment Recommendations
While baking bread is simple, having the right tools makes a world of difference:
- Mixing Bowl: A large, sturdy bowl for mixing and rising the dough.
- Measuring Cups and Spoons: Accurate measurements are crucial for successful baking.
- Kitchen Towel: To cover the dough during its rising stages.
- Oven Thermometer: Ensures your oven is at the right temperature for baking.
- Baking Sheet: A parchment-lined baking sheet for easy transfer of the loaf.
Serving Suggestions
There are countless ways to enjoy your homemade bread:
- With Butter: Spread a generous amount of butter on a warm slice for a classic treat.
- As Sandwiches: Use the bread for hearty sandwiches filled with your favorite ingredients.
- With Soup: Pair it with a warm bowl of soup for a comforting meal.
- Toast: Toast slices for breakfast, topped with jam or avocado.
Conclusion: Bake with Love
As you embark on this delightful journey of baking homemade bread, remember that every loaf tells a story—your story. With a sprinkle of patience and a dash of love, you’ll create something truly special. So, roll up your sleeves, invite your family into the kitchen, and let’s make memories one slice at a time. Happy baking!
Easy Homemade Bread Recipe- Delicious & Simple
Ingredients
Dough
- 2 cups warm water (105-115°F)
- 1 tablespoon active dry yeast
- 1/4 cup honey
- 2 teaspoons salt
- 2 tablespoons canola oil
- 4 to 5 1/2 cups all-purpose flour Add more if sticky
Instructions
- Combine warm water, yeast, and honey; let sit 5-10 mins until foamy.
- Add salt and oil; stir to combine.
- Gradually mix in flour until a shaggy dough forms; knead 8-10 mins until smooth.
- Let dough rise in a greased bowl, covered, for 1-1.5 hours until doubled.
- Punch down, shape into a loaf, and let rise 30-60 mins until puffy.
- Preheat oven to 375°F (190°C); bake 30-35 mins until golden brown.