
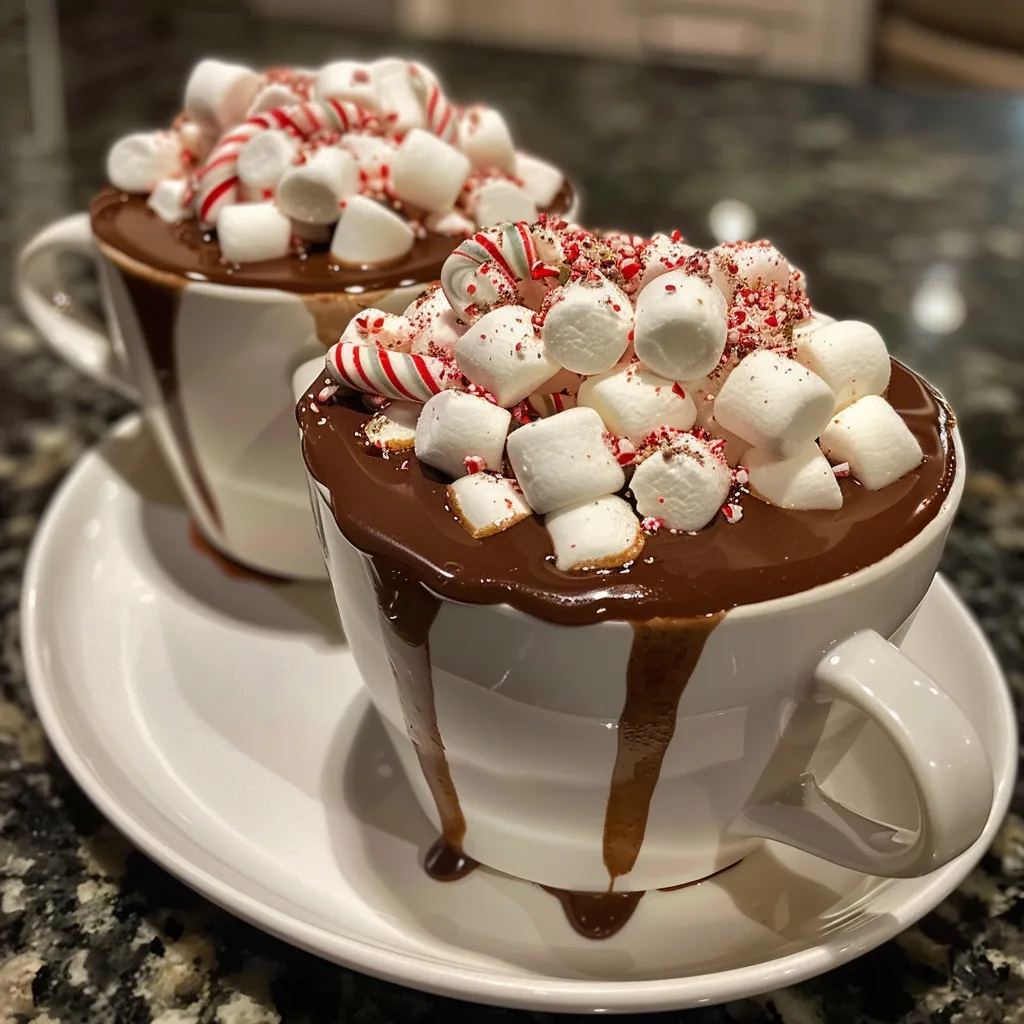
There’s something undeniably special about the simple act of sharing a warm drink with loved ones, especially during the chilly months. Today, we’re delving into a delightful recipe that not only warms the tummy but also warms the heart: Chocolate Hot Cups. This nostalgic treat is not just about indulgence; it’s about gathering around the table, sharing stories, and creating memories. Let’s explore how to make these charming cups that are sure to bring smiles to your gatherings.
Why You’ll Love This Recipe
Before we dive into the details, let me share why this Chocolate Hot Cups recipe has a special place in my heart:
- Perfect for Sharing: These cups are not only delicious but also a beautiful way to serve hot chocolate to friends and family, making every sip feel like a warm hug.
- Customizable Treat: You can easily adapt the recipe with different toppings or flavors, making it a versatile treat for everyone.
- Kid-Friendly Fun: The process of making these cups is a delightful activity for kids, allowing them to explore their creativity in the kitchen.
- Memorable Presentation: Serve them at your next gathering for a unique touch that will leave your guests in awe.
- Easy to Make Ahead: Prepare these cups in advance, so you can enjoy the moment with your guests without worrying about last-minute preparations.
Ingredients Breakdown
Let’s gather our ingredients to make these delightful Chocolate Hot Cups:
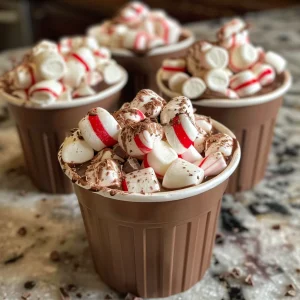
- Disposable cups: Use sturdy, food-safe disposable cups to hold the melted chocolate. These cups will help create the perfect vessel for your hot cocoa.
- Melted milk chocolate: Choose high-quality chocolate for the best flavor. You can also experiment with dark chocolate or white chocolate for a different twist.
- Candy canes: These add a festive touch and a delightful minty flavor. You can use crushed candy canes for a more dramatic effect.
- Cocoa powder: This provides a rich chocolate flavor to the drink itself. Opt for unsweetened cocoa powder for the best results.
- Mini marshmallows: A classic addition to any hot chocolate, these fluffy treats will melt in your warm drink.
- Granulated sugar: To add sweetness to your cocoa, adjust the amount to your taste.
Step-by-Step Instructions
Now, let’s get cooking! Follow these simple steps to create your Chocolate Hot Cups:
- Slowly melt the chocolate in a double boiler or in the microwave on low power, stirring frequently to achieve a smooth consistency.
- Once melted, carefully pour the chocolate into the disposable cups, swirling them as needed to cover the inside completely. Let them set for a few minutes.
- For stability, repeat the process by adding another layer of melted chocolate to the cups, allowing them to set again.
- Carefully remove the cups from the molds. You can gently peel them away once the chocolate has completely hardened.
- Pour a bit more melted chocolate into each cup and insert a candy cane, letting it dry for an added festive touch.
- Add 2 teaspoons of cocoa powder into each cup and top with mini marshmallows. Drizzle a little melted chocolate over the marshmallows to secure them.
- Finally, decorate the tops of the cups with melted chocolate and sprinkle granulated sugar for a sparkling finish.
- To make hot chocolate, simply place one of the cups in a mug of hot milk, wait a bit, and stir until everything is combined.
Pro Tips for Perfect Chocolate Hot Cups
Here are some expert insights to ensure your Chocolate Hot Cups turn out perfectly:
- Temperature control: When melting chocolate, keep the heat low to prevent burning. Chocolate should be smooth and glossy.
- Layering is key: Make sure to layer the chocolate well in the cups. This adds strength and creates a lovely texture.
- Customize your toppings: Feel free to add whipped cream, drizzles of caramel, or festive sprinkles to enhance the aesthetic and flavor.
- Experiment with flavors: Try adding flavored extracts like peppermint, vanilla, or almond to the melted chocolate for a unique twist.
- Chill for stability: If you’re in a warmer environment, chill the cups in the fridge for a short while to help set the chocolate faster.
- Seal the cups: For a more stable cup, consider dipping the rim of the cups in melted chocolate before setting them aside to harden.
- Keep it simple: Don’t stress about perfection; embrace the rustic charm of homemade treats.
- Make it a family affair: Get the kids involved! Let them help decorate their own cups for a fun family activity.
Common Mistakes to Avoid
Even the best cooks encounter challenges. Here are common mistakes to avoid when making your Chocolate Hot Cups:
- Overheating chocolate: Always melt chocolate at low temperatures to prevent it from seizing up.
- Not allowing enough time to set: Be patient! Allow the chocolate to set completely before removing the cups to avoid breakage.
- Skipping the double layer: A single layer may not hold up well; double up for strength.
- Using the wrong cups: Ensure the disposable cups are food-safe and sturdy enough to hold hot liquids.
Delicious Variations
Want to mix things up? Here are some delicious variations of the Chocolate Hot Cups:
- Dark Chocolate Delight: Use dark chocolate for a richer flavor and add a touch of sea salt on top for a gourmet experience.
- Spicy Hot Chocolate: Incorporate a pinch of cayenne pepper or cinnamon into the cocoa powder for a warm kick.
- Nutty Chocolate Cups: Add chopped nuts such as almonds or hazelnuts into the chocolate mix for added crunch.
- Flavorful Infusions: Mix in extracts like orange or hazelnut to the melted chocolate for a unique twist.
Storage and Make-Ahead Instructions
These Chocolate Hot Cups can be made ahead of time, making them perfect for gatherings. Here’s how to store them:
- Room temperature storage: Keep the cups in a cool, dry place, away from direct sunlight. They can last up to a week.
- Refrigeration: If you live in a warmer climate, it’s best to store them in the refrigerator to maintain their shape. Just let them come to room temperature before serving.
Frequently Asked Questions
Here are some common questions about making Chocolate Hot Cups:
- Can I use a different type of chocolate? Yes, feel free to use dark or white chocolate, depending on your preference.
- How do I make the chocolate cups stronger? Adding a second layer of chocolate can help create a sturdier cup.
- Can I freeze these cups? While it’s possible to freeze chocolate, it may affect the texture. It’s best to consume them fresh.
- What can I use instead of candy canes? Peppermint sticks or other festive candies can be used for decoration.
- How do I clean up melted chocolate? Quickly wipe up any spills with warm, soapy water for easy cleanup.
- What if I don’t have disposable cups? You can use silicone molds or any heat-safe cup, but be sure to grease them well.
- Can I make these vegan? Yes, you can use dairy-free chocolate and non-dairy milk for the hot chocolate.
- How can I serve these at a party? Set up a hot chocolate bar with various toppings and let guests customize their cups.
Nutritional Tips and Dietary Adaptations
For those watching their diet, here are some tips:
- Lower sugar options: Use sugar substitutes or reduce the amount of granulated sugar in your recipe.
- Healthier chocolate: Opt for dark chocolate, which typically contains less sugar and more antioxidants.
- Gluten-free options: Ensure all ingredients, including candy canes, are certified gluten-free if required.
Essential Equipment for Making Chocolate Hot Cups
Having the right tools can make your experience smoother:
- Double boiler: A must-have for melting chocolate evenly without burning.
- Silicone spatula: Perfect for stirring and scraping chocolate from bowls.
- Measuring spoons: Essential for precise ingredient measurements, especially for cocoa and sugar.
- Baking sheet: Use this to hold the cups while the chocolate sets.
Serving Suggestions
Once your Chocolate Hot Cups are ready, here are some serving ideas:
- Hot Chocolate Bar: Set up a station with different toppings like whipped cream, caramel drizzle, and flavored syrups for guests to customize their cups.
- Pair with Cookies: Serve alongside your favorite cookies or brownies for a complete treat experience.
- Gift Option: These cups make wonderful gifts. Just wrap them up with a festive ribbon and a tag.
As we wrap up this journey through creating Chocolate Hot Cups, I hope you’re inspired to gather your loved ones and create beautiful memories over warm drinks. Remember, cooking is about sharing love, and these delightful treats are a perfect way to do just that. Happy cooking, friends!
Chocolate Hot Cups
Ingredients
Dough or Base
- 200 g Melted milk chocolate
- 4 pcs Disposable cups
Fillings and Toppings
- 4 pcs Candy canes
- 2 tbsp Cocoa powder
- 1 cup Mini marshmallows
- 2 tsp Granulated sugar
Instructions
- Melt the chocolate and pour into disposable cups, swirling to coat the inside. Let set.
- Remove cups carefully, fill with melted chocolate, and insert candy canes. Let dry.
- Add cocoa powder and mini marshmallows to each cup, then drizzle with melted chocolate.
- Decorate with melted chocolate and sugar, then dip cups back into chocolate for finishing.
- To serve, place a cup in hot milk, stir, and enjoy your hot chocolate.