
Hey there, fellow foodies! Today, I’m super excited to share with you a game-changing recipe that will make you the star of your next family dinner or casual gathering. Say hello to the easiest, most delicious no-knead focaccia you’ll ever make! This recipe is perfect for those of us who love homemade bread but don’t have hours to knead and wait. Plus, it’s ready in just a few simple steps—no fancy equipment or advanced skills required. Trust me, this will become your go-to for quick family dinners and easy pasta recipes that impress everyone!
Why You’ll Love This Recipe
- No kneading required—yes, you read that right!
- Just 7 simple ingredients that you probably already have in your pantry.
- Perfect for busy days since most of the work is hands-off.
- Customizable—add your favorite herbs, spices, or even cheese on top!
- Great for serving alongside soups, salads, or as a base for sandwiches.
Ingredients
Here’s what you’ll need to make this magic happen:
- 4 cups of all-purpose flour
- 2 tsp of yeast
- 1 tsp of salt
- 2 tsp of sugar
- 2 cups of lukewarm water
- 4 tbsp of olive oil
- Sea salt and rosemary for sprinkling on top (optional)
Full ingredient list with measurements is provided in the printable recipe card below.
How to Make the Recipe
Let’s dive into the step-by-step process. Don’t worry, it’s simpler than you think!
Step 1: Combine Dry Ingredients
In a large bowl, mix together the flour, yeast, salt, and sugar. This is the foundation of your dough, so make sure everything is well combined.
Step 2: Add Water and Mix
Pour in the lukewarm water and mix everything with a spatula until you get a sticky dough. Don’t overmix—it should still look a bit rough at this stage.
Step 3: Oil the Dough
Add a teaspoon or two of olive oil to the dough’s surface and rub it all over. This helps prevent the dough from drying out while it rests.
Step 4: Let It Rest
Cover the bowl with plastic wrap and let it sit in the fridge for 18-24 hours. Yes, you read that right—24 hours! This slow rise is what makes the dough so flavorful and easy to work with. I let mine rest for the full 24 hours, and it turned out amazing.
Step 5: Prepare the Pan
When you’re ready to bake, grease a 9″ x 13″ or 10″ x 12″ pan. Line the bottom with parchment paper if your pan isn’t non-stick. I used a 10″ x 12″ pan and lined it just to be safe.
Step 6: Shape the Dough
Take the dough out of the fridge and oil your hands. Gently bring the dough in from the sides of the bowl, then fold it over itself. Turn the bowl a quarter of the way and repeat this folding process three more times. Do this once more to ensure the dough is well distributed.
Step 7: Let It Rise Again
Pour 2 tablespoons of olive oil into the center of the prepared pan. Place the dough in the pan and roll it a few times to coat it evenly with the oil. Cover it with plastic wrap or a kitchen towel and let it rise in a draft-free place for 2-4 hours, or until it has doubled in size and covers the pan. Mine was ready in just 1.5 hours!
Step 8: Preheat and Top
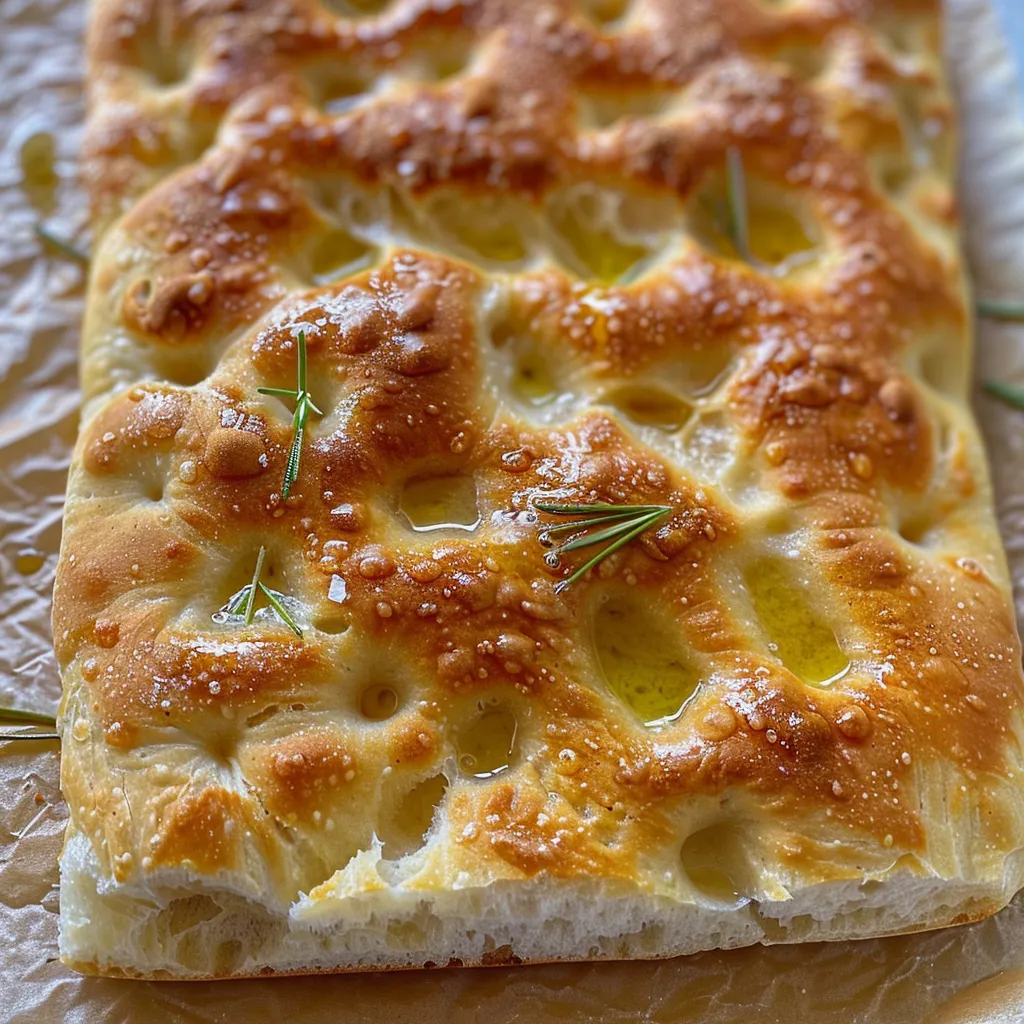
Preheat your oven to 220°C (425°F). Sprinkle rosemary on top if you’re using it. Drizzle the remaining 2 tablespoons of olive oil over the dough, spreading it evenly. Use your fingers to create those beautiful dimples in the dough, then sprinkle with sea salt.
Step 9: Bake to Perfection
Bake the focaccia for 25-30 minutes, or until the top is golden brown and the bottom is crispy. Let it rest in the pan for 5 minutes before transferring it to a cooling rack. Slice it warm or let it cool completely—either way, it’s delicious!
Pro Tips for Making the Recipe
Here are a few tips to ensure your focaccia turns out perfectly every time:
- Use quality flour: All-purpose flour works best for this recipe, but feel free to experiment with bread flour for a chewier texture.
- Don’t skip the resting time: The 24-hour rest is crucial for developing the flavor and texture of the dough.
- Get creative with toppings: While rosemary and sea salt are classic, you can also try garlic, herbs, or even grated cheese for a different flavor profile.
How to Serve
Focaccia is one of the most versatile breads out there. Here are a few ways to enjoy it:
- With soups or stews: It’s perfect for dipping into your favorite soups or stews.
- As a side: Serve it alongside a fresh salad or as part of a hearty breakfast casserole.
- As a base for sandwiches: Use it for paninis or as a base for open-faced sandwiches.
- With dips: It’s amazing with hummus, spinach and artichoke dip, or olive oil with balsamic vinegar.
Make Ahead and Storage
One of the best things about this recipe is that you can make it ahead of time. Here’s how to store it:
- At room temperature: Wrap the focaccia tightly in plastic wrap or aluminum foil and keep it at room temperature for up to 2 days.
- In the fridge: It will keep for up to 5 days in the fridge. Just wrap it tightly and let it come to room temperature before serving.
- Freezer: Wrap it tightly and freeze for up to 2 months. Thaw at room temperature or reheat in the oven for a few minutes.
And there you have it, folks! A simple, no-knead focaccia recipe that’s perfect for any occasion. Whether you’re planning a quick family dinner, looking for easy pasta recipes to pair with your favorite dishes, or just want something delicious to serve at your next gathering, this focaccia is sure to be a hit. Give it a try and let me know how it turns out in the comments below. Happy baking!

Super Easy No-Knead Focaccia
Ingredients
Dry Ingredients
- 4 cups All-purpose flour
- 2 tsp Yeast
- 1 tsp Salt
- 2 tsp Sugar
- 2 cups Lukewarm water
- 4 tbsp Olive oil
Toppings
- Sea salt for sprinkling
- Rosemary for sprinkling
Instructions
- Combine flour, yeast, salt, and sugar in a large bowl. Add lukewarm water and mix until a sticky dough forms. Rub with olive oil, cover, and refrigerate for 18-24 hours.
- Preheat oven to 220°C. Grease a 10"x12" pan with parchment paper. Transfer dough to the pan, coat with olive oil, and let it rise for 2-4 hours.
- Sprinkle dough with rosemary, sea salt, and remaining olive oil. Dimple dough with fingers.
- Bake at 220°C for 25-30 minutes until golden brown. Let rest 5 minutes before slicing.