
Creating Sweet Memories with Homemade Chocolate Bars
Welcome to a delightful journey where we’ll craft homemade chocolate bars that not only satisfy your sweet tooth but also create cherished memories. There’s something truly magical about making chocolate from scratch, reminiscent of days spent in my grandmother’s kitchen, where love was the secret ingredient. This recipe is perfect for sharing with family and friends, bringing warmth and joy to your gatherings. Let’s dive into the wonderful world of homemade chocolate!
Why You’ll Love This Recipe
- Simple Ingredients: You only need four main ingredients to whip up these delightful bars, making it accessible for everyone.
- Customizable Flavors: Whether you love dark chocolate, mint, or something sweeter, this recipe allows you to add your favorite flavors and toppings.
- Healthy Options: With choices like coconut oil and natural sweeteners, you can indulge without the guilt.
- Fun Activity: Making chocolate is a wonderful activity for kids and adults alike, perfect for family bonding time.
- Perfect for Gifting: Homemade chocolate bars make thoughtful gifts for loved ones, adding a personal touch that store-bought treats can’t match.
Ingredients Breakdown
Let’s explore the ingredients that will transform your kitchen into a chocolate haven:
- Cacao or Cocoa Powder (1/4 cup): This is the base of our chocolate. Cacao offers a richer flavor, while cocoa powder provides a smoother sweetness. Feel free to substitute with carob powder for a caffeine-free option.
- Coconut Oil (3 tbsp): This ingredient gives the chocolate a silky texture. You can replace it with unsalted butter or shea butter for a different flavor profile.
- Pure Maple Syrup, Honey, or Agave (3 tbsp): Your choice of sweetener can adjust the flavor. For a sugar-free version, try erythritol or stevia.
- Optional Extracts and Add-Ins: Think of vanilla extract, peppermint extract, or even a handful of nuts or dried fruits to elevate your chocolate experience.
Step-by-Step Instructions
Follow these simple steps to create your homemade chocolate bars:
- Gently warm the coconut oil in a small saucepan until melted.
- In a mixing bowl, combine the melted coconut oil, cacao or cocoa powder, and your chosen sweetener. Stir until the mixture is smooth and thick.
- If using, add any extracts or add-ins at this stage for extra flavor.
- Pour the chocolate mixture into molds or a flat container lined with parchment paper.
- Chill in the refrigerator until solid, about 30 minutes. For a fun twist, melt the bars again to create a luscious chocolate sauce.
Pro Tips for Success
- Temperature Matters: Ensure your coconut oil is melted but not too hot, as high temperatures can affect the chocolate’s texture.
- Mix Well: Stir the ingredients thoroughly to avoid clumps of cocoa powder.
- Experiment with Flavors: Don’t hesitate to try different extracts and ingredients, like chili powder for a spicy kick!
- Use Quality Ingredients: The better your ingredients, the richer the flavor of your chocolate.
- Storage Tips: Store your chocolate bars in an airtight container to maintain freshness, ideally in the fridge.
Common Mistakes and Troubleshooting
Even the best chefs encounter bumps along the way. Here’s how to avoid common pitfalls:
- Too Soft: If your chocolate doesn’t set, it may be due to too much liquid. Adjust the ratios next time!
- Grainy Texture: This can happen if the cocoa powder isn’t mixed well. Always sift it before adding.
- Overly Sweet: If you find your chocolate too sweet, balance it out with a pinch of sea salt or a touch more cocoa powder.
Delicious Variations to Try
Get creative with these variations:
- Mint Chocolate Bars: Add a few drops of peppermint extract for a refreshing twist.
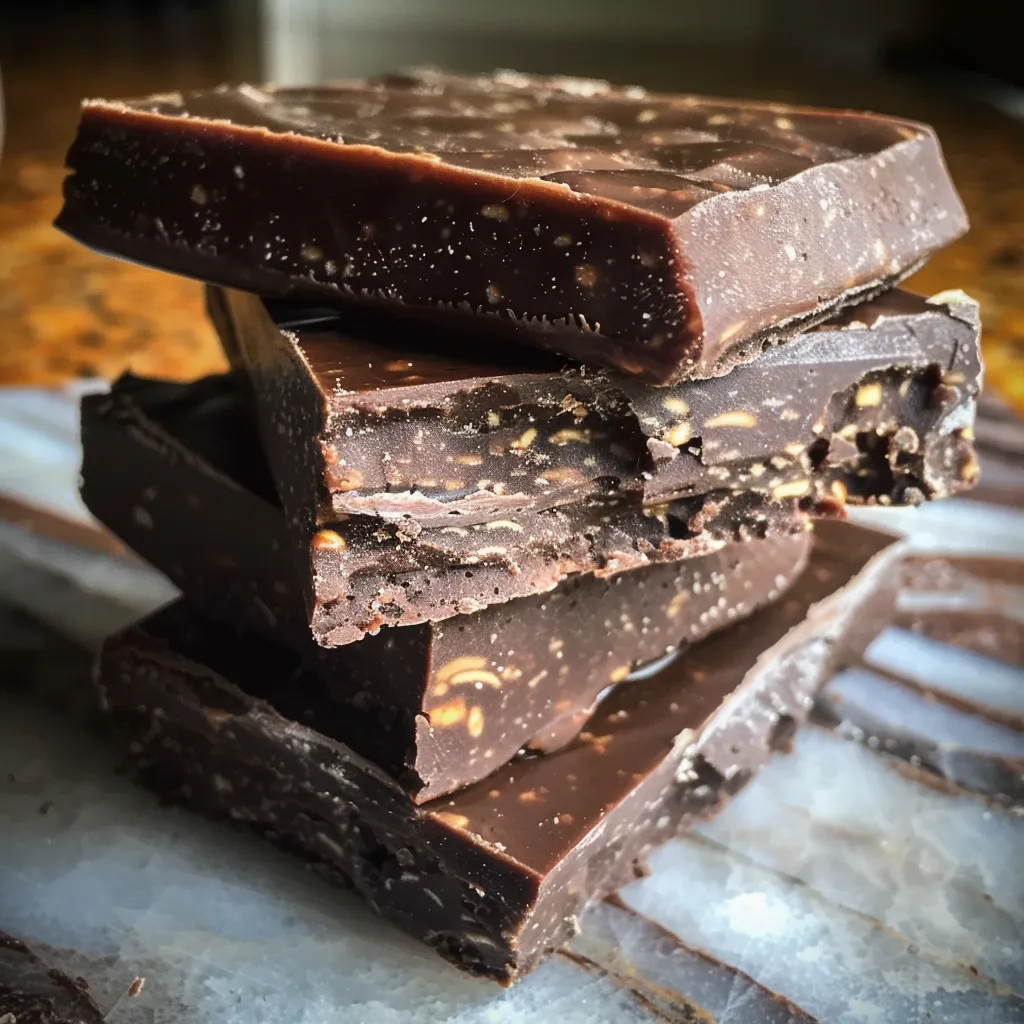
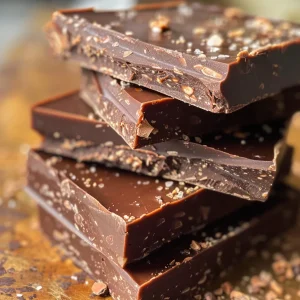
- Nutty Delight: Stir in a handful of chopped almonds or hazelnuts for added crunch.
- Sea Salt Caramel: Drizzle a little homemade caramel on top before chilling, and sprinkle with sea salt for an elegant touch.
- Spicy Chocolate: Incorporate a dash of cayenne pepper for a surprising kick.
Storage and Make-Ahead Instructions
Your chocolate bars can last up to two weeks if stored properly. Here’s how:
- Refrigerate: Keep your chocolate bars in an airtight container in the fridge to maintain their shape and flavor.
- Freeze: For longer storage, place them in the freezer. Just make sure to wrap them individually in wax paper!
- Make Ahead: Prepare your chocolate bars in advance for special occasions. They also make great last-minute gifts!
FAQs About Homemade Chocolate Bars
- Can I use milk instead of coconut oil? Yes, but it may alter the texture and flavor.
- Is this recipe vegan? Absolutely! As long as you use maple syrup or agave as your sweetener.
- Can I add protein powder? Yes, but adjust the liquid ingredients to maintain the right consistency.
- What if my chocolate doesn’t harden? It may need more chilling time or a better ratio of cocoa powder to liquid.
- Can I make chocolate bars without molds? Yes! A flat container works perfectly; just cut them into bars after they set.
- How can I make it healthier? You can reduce the sweetener or use dark chocolate for a richer flavor and lower sugar content.
- How long do these bars last? They can last up to two weeks in the fridge and longer in the freezer.
- What’s the best way to melt chocolate? Use a double boiler or microwave in short bursts, stirring in between.
Nutrition Tips and Dietary Adaptations
For those watching their dietary intake, here’s how to adapt this recipe:
- Low-Carb Option: Use sugar substitutes like erythritol or stevia for a keto-friendly treat.
- Dairy-Free: Stick with coconut oil and avoid any dairy-based add-ins.
- High-Fiber Boost: Add chia seeds or ground flaxseed to increase the nutritional value.
- Nut-Free: Choose seeds or omit nuts to keep it allergy-friendly.
Essential Equipment for Chocolate Making
- Mixing Bowl: A medium-sized bowl is perfect for combining all ingredients.
- Double Boiler or Saucepan: For melting coconut oil and mixing ingredients smoothly.
- Chocolate Molds or Flat Container: Depending on your desired bar shape.
- Spatula: For pouring and smoothing the chocolate mixture.
Serving Suggestions
Once your chocolate bars are ready, consider these delightful serving ideas:
- Chocolate Charcuterie Board: Pair with fruits, nuts, and cheeses for an elegant dessert spread.
- Gift Wrapping: Wrap them in beautiful paper or boxes for personal gifts.
- Hot Chocolate Delight: Melt the bars into warm milk for a cozy drink.
Cooking is a celebration of love and connection, and there’s nothing quite like the sweetness of homemade chocolate bars to bring people together. So, roll up your sleeves, gather your ingredients, and let’s make some sweet memories in the kitchen!
Homemade Chocolate Bars
Ingredients
Main ingredients
- 0.25 cup cacao or cocoa powder
- 3 tbsp coconut oil
- 3 tbsp pure maple syrup, honey, or agave (A sugar-free option is written out above)
- optional extracts, cocoa nibs, chia seeds, or other add-ins
Instructions
- Gently warm the coconut oil if not already melted.
- Combine all ingredients in a bowl and stir until thick.
- Pour mixture into a flat container or molds, then chill until solid.
- Once hardened, store in the fridge or freezer.
- Optional: melt the bars again for chocolate sauce.