
Welcome to the Heart of Homemade Bread Making
In the cozy embrace of our kitchens, the magic of bread baking unfolds. It’s not just about mixing ingredients; it’s about crafting memories, filling our homes with warmth, and sharing love with every loaf. Today, I’m excited to guide you through the best homemade bread recipe—a simple yet profound journey that connects us to our roots and to one another. With just a few staple ingredients, you can create a loaf that brings family and friends together around the table, evoking nostalgia and comfort.
Why You’ll Love This Recipe
- Easy to Follow: This recipe is designed for all skill levels—whether you’re a novice or a seasoned baker, you can create beautiful bread.
- Minimal Ingredients: With just five simple ingredients, you can make a loaf that rivals any bakery’s best. No fancy additions required!
- Rich Flavor: The long rising time helps develop deep, complex flavors that make every bite a delight.
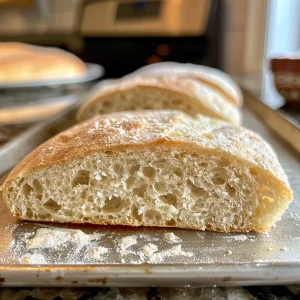
- Versatile Texture: Enjoy a crusty exterior with a soft, airy interior—perfect for sandwiches or served warm with butter.
- Aromatic Experience: The aroma of baking bread fills your home, creating an inviting atmosphere that beckons everyone to gather.
Ingredients Breakdown
Let’s gather our ingredients and get started! Here’s what you’ll need for this heartwarming recipe:
- 3 cups (384 grams) all-purpose flour: All-purpose flour works perfectly, but you can experiment with whole wheat or bread flour for different flavors.
- 1 ½ cups (360 ml) lukewarm water: Aim for a temperature between 105-115°F (40-46°C). This warmth is crucial for activating the yeast.
- 1 ½ teaspoons (5 grams) active dry yeast: This is the magic ingredient that makes the dough rise and gives your bread its lovely texture.
- 1 ½ teaspoons (8 grams) salt: Salt not only enhances flavor but also strengthens the dough structure.
- 1 tablespoon (15 ml) honey or sugar: A touch of sweetness helps activate the yeast and contributes to the bread’s flavor.
Step-by-Step Instructions
Now that we have our ingredients ready, let’s dive into the process of making this delightful bread!
- In a large bowl, combine the lukewarm water and honey or sugar. Sprinkle the active dry yeast over the water and let it sit for 5-10 minutes, or until foamy. This step ensures your yeast is alive and ready to work its magic.
- Add the flour and salt to the bowl with the yeast mixture. Mix with a wooden spoon or your hands until just combined. Remember, the dough will be shaggy and sticky—don’t overmix!
- Cover the bowl with plastic wrap or a damp kitchen towel. Let it rise in a warm place for 12-18 hours, or until it has doubled in size. Patience is key here!
- Gently punch down the dough and turn it out onto a lightly floured surface. Shape it into a round or oval loaf with gentle hands.
- Place the shaped dough in a well-floured proofing basket or on a piece of parchment paper. Cover it with a clean kitchen towel and let it rise for another 30-60 minutes.
- Preheat your oven to 450°F (232°C) with a Dutch oven inside. This step is crucial for creating that beautiful crust.
- Carefully remove the hot Dutch oven from the oven. Invert the dough into the Dutch oven and score the top with a sharp knife to allow steam to escape.
- Cover with the lid and bake for 30 minutes. Then, remove the lid and bake for an additional 15-20 minutes until the bread is golden brown and the internal temperature reaches 200-210°F (93-99°C).
- Carefully remove the bread from the Dutch oven and let it cool completely on a wire rack before slicing and serving.
Pro Tips for Perfect Bread
As you embark on your bread-making journey, here are some expert insights to enhance your experience:
- Room Temperature Matters: Ensure your ingredients are at room temperature to help with proper fermentation.
- Use Fresh Yeast: Always check the expiration date on your yeast. Fresh yeast ensures a good rise.
- Hydration Level: Dough hydration is key for texture. If your dough feels too dry, consider adding a splash more water.
- Warm Environment: If your kitchen is cold, create a warm spot for rising by placing the bowl in a turned-off oven with the light on.
- Don’t Rush the Rise: Allow the dough to rise fully; this will enhance flavor and texture.
- Experiment with Flours: Try different types of flour (like whole wheat or rye) for varied flavors and textures.
- Store Properly: Store leftover bread in a paper bag to maintain its crustiness or freeze it for longer storage.
- Don’t Forget to Score: Scoring your dough helps control how the bread expands during baking, giving it a beautiful shape.
Common Mistakes and Troubleshooting
Even the best bakers can encounter a few hiccups. Here’s how to troubleshoot common issues:
- Dough Not Rising: Check that your yeast is fresh and that you’ve given the dough enough time in a warm place.
- Dense Bread: This could be due to under-kneading or using too much flour. Remember, the dough should be sticky!
- Crust Too Hard: If your crust is overly hard, try baking with a pan of water in the oven to create steam.
- Flavor Lacking: Ensure you’re using enough salt and allow the dough to rise adequately to develop flavor.
Delicious Variations to Try
Once you’ve mastered this basic recipe, consider these delightful variations to keep your baking exciting:
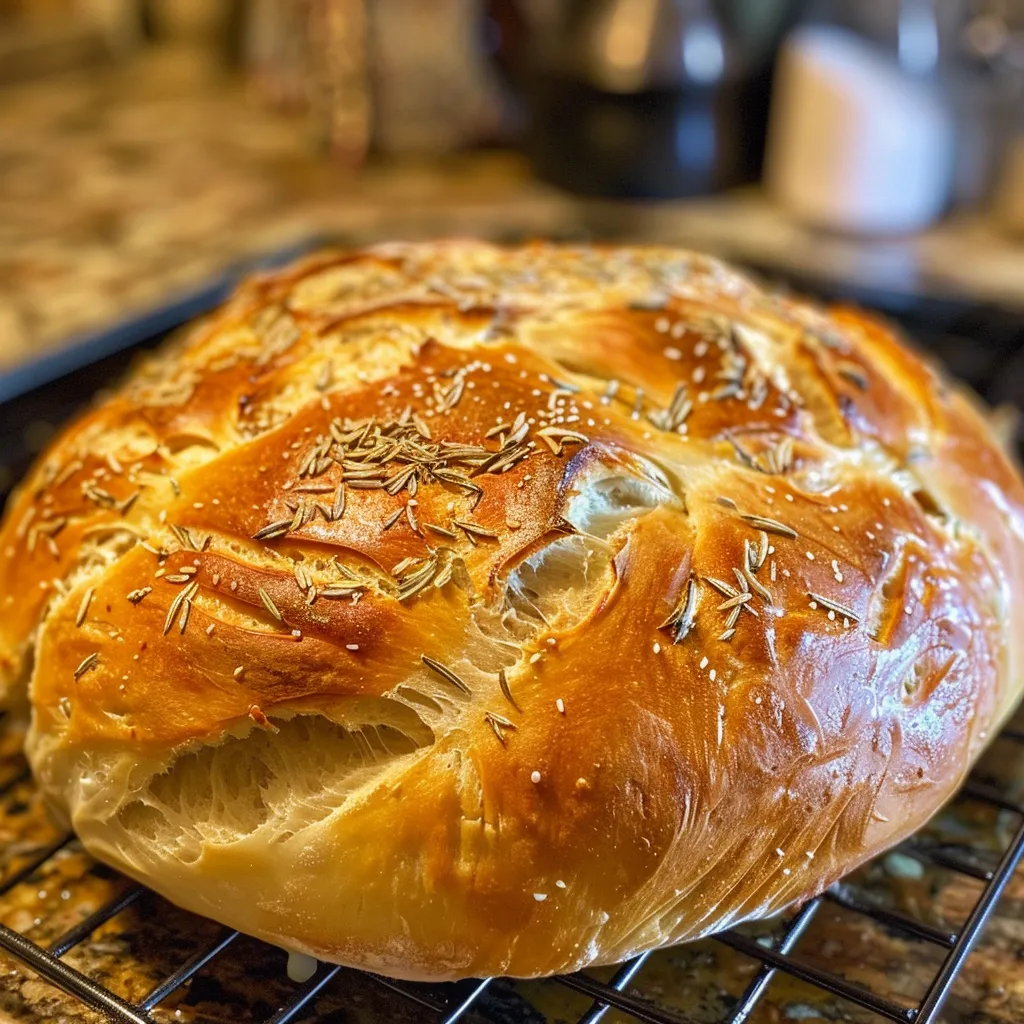
- Herb-Infused Bread: Add finely chopped fresh herbs (like rosemary or thyme) to the dough for an aromatic twist.
- Garlic and Cheese: Fold in roasted garlic and grated cheese for a savory flavor that’s perfect for sandwiches.
- Whole Grain Bread: Substitute half of the all-purpose flour for whole wheat flour for a nuttier flavor.
- Sweet Cinnamon Bread: Add cinnamon and sugar to the dough for a delightful breakfast treat.
Storage and Make-Ahead Instructions
Want to prepare in advance? Here’s how you can store your bread:
- Room Temperature: Store sliced bread in a paper bag at room temperature for up to 3 days.
- Freezing: Wrap the whole loaf tightly in plastic wrap and then in aluminum foil. Freeze for up to 3 months.
- Reheating: To refresh your bread, reheat in a 350°F (175°C) oven for about 10-15 minutes.
Frequently Asked Questions
Let’s address some common queries to help you on your baking journey:
- Can I use instant yeast instead of active dry yeast? Yes, you can! Just mix it directly with the dry ingredients.
- What if my dough is too sticky? If the dough feels too sticky, add a small amount of flour while kneading until it reaches the desired consistency.
- How can I tell when my bread is done baking? The bread should be golden brown and sound hollow when tapped on the bottom.
- Can I make this bread in a bread machine? Yes, you can adapt this recipe for a bread machine by following its specific instructions.
- What’s the best way to slice bread? Use a serrated knife for clean, even slices.
- Can I add nuts or seeds to the dough? Absolutely! Just fold them in during the mixing stage for added flavor and texture.
- Is this recipe gluten-free? You can experiment with gluten-free flour, though the texture may differ.
- How do I know when the dough has risen enough? It should roughly double in size and feel airy to the touch.
Nutritional Tips and Dietary Adaptations
As we share this bread, let’s also consider some dietary adaptations:
- Whole Wheat Option: For a healthier loaf, substitute half of the all-purpose flour with whole wheat flour.
- Low-Sugar Version: Omit the honey or sugar if you prefer a less sweet bread.
- Vegan Adaptation: This recipe is already vegan-friendly—no eggs or dairy are used!
Essential Equipment Recommendations
To make your bread-making experience smooth and enjoyable, here are some recommended tools:
- Mixing Bowl: A large mixing bowl is essential for combining your ingredients.
- Wooden Spoon: Perfect for mixing the dough without overworking it.
- Proofing Basket: A proofing basket helps shape the loaf as it rises.
- Dutch Oven: This is ideal for baking, creating a beautiful crust and even heat.
- Serrated Knife: Essential for slicing your bread without squishing it!
Serving Suggestions
Finally, let’s talk about how to enjoy your freshly baked bread:
- With Butter: Spread some fresh butter or homemade herb butter for a classic pairing.
- For Sandwiches: Use it as a base for your favorite sandwiches, from classic ham and cheese to gourmet veggie delights.
- With Soup: Serve alongside a warm bowl of soup for a comforting meal.
- As Toast: Enjoy slices toasted with a sprinkle of cinnamon sugar for breakfast or a snack.
As you embark on this delightful journey of making homemade bread, remember that it’s not just about the final product—it’s about the love and memories created along the way. Happy baking, my friends! May your kitchen be filled with the warmth of freshly baked bread and the laughter of loved ones gathered around the table.
Best Homemade Bread Recipe
Ingredients
Dough
- 3 cups all-purpose flour plus more for dusting
- 1.5 cups lukewarm water around 105-115°F or 40-46°C
- 1.5 teaspoons active dry yeast
- 1.5 teaspoons salt
- 1 tablespoon honey or sugar
Instructions
- Mix warm water and honey, then add yeast and let sit until foamy.
- Add flour and salt, then mix until shaggy dough forms.
- Cover and let rise in warm place for 12-18 hours.
- Punch down, shape into loaf, and let rise for 30-60 minutes.
- Preheat oven with Dutch oven, invert dough, score, and bake covered for 30 minutes, then uncovered for 15-20 minutes.
- Cool on wire rack before slicing and serving.