
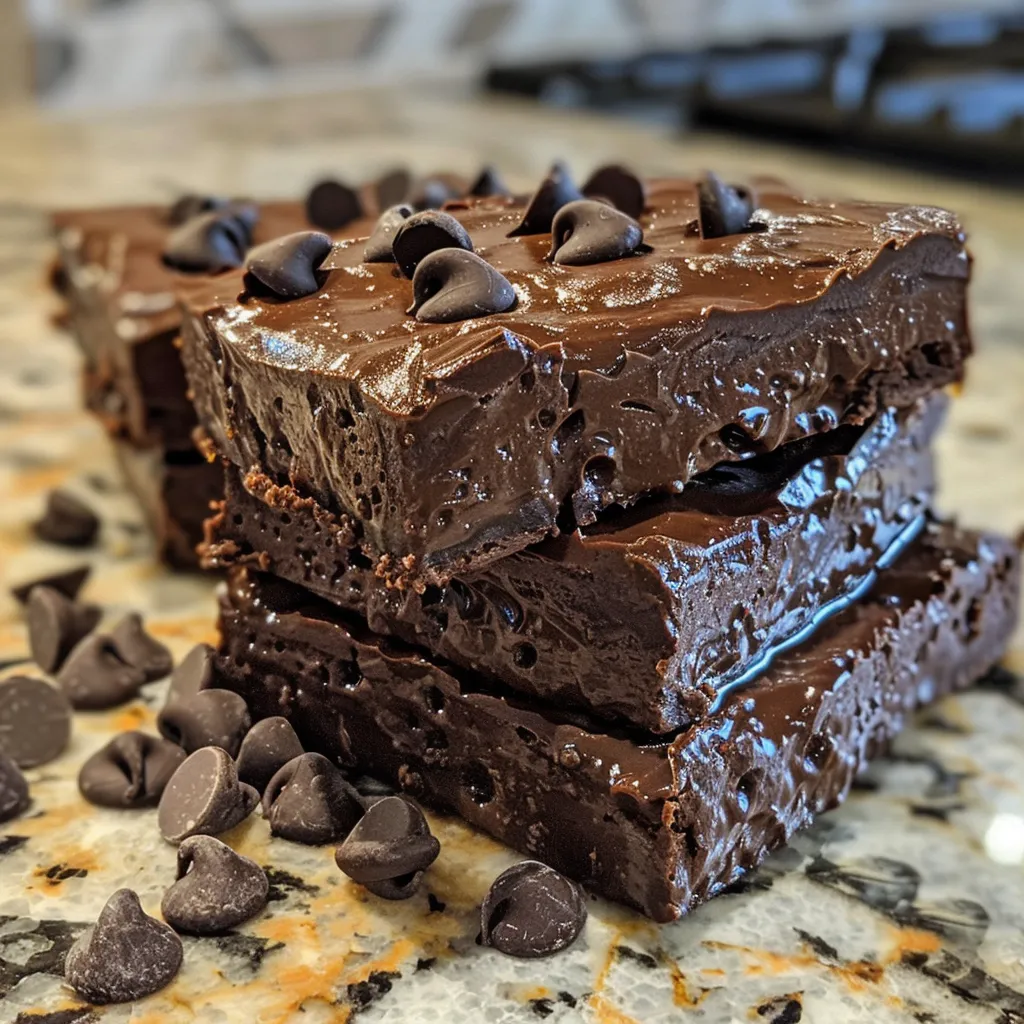
Discover the Joy of No-Bake High-Protein Chocolate Bars
Welcome, dear friends, to a delicious adventure in the kitchen! Today, we’re diving into the world of indulgence with a heartwarming recipe for no-bake high-protein chocolate bars. These bars are not just a treat; they’re a nostalgic journey back to my childhood, filled with memories of cooking alongside my grandmother in our little Louisiana kitchen. With every bite, you’ll experience the rich flavors of chocolate blended perfectly with wholesome ingredients. Whether you’re looking for a quick snack after a workout or a sweet treat to share with loved ones, these bars are sure to satisfy your cravings while packing a nutritional punch.
Let’s gather our ingredients and get ready to create a sweet masterpiece that’s as easy to make as it is to enjoy!
Why You’ll Love This Recipe
- Easy to Prepare: With just a few simple steps, you can whip up these delicious bars in no time. Perfect for busy days!
- High in Protein: Each bar is loaded with protein, thanks to ingredients like cottage cheese and protein powder, making them a great post-workout snack.
- No Baking Required: Forget the oven! These bars set in the refrigerator, keeping your kitchen cool and your time free for other joys.
- Customizable: Feel free to swap out ingredients based on your preferences. Add nuts, seeds, or your favorite dried fruits for a personal twist!
- Family-Friendly: These bars are not just for adults; kids will love them too! A healthy dessert that everyone can enjoy together.
Ingredient Breakdown and Substitutions
Let’s take a closer look at the star ingredients that make these high-protein chocolate bars so delightful:
- 1 1/2 cups full-fat cottage cheese: This creamy base is rich in protein and adds a lovely texture. For a dairy-free option, consider using silken tofu.
- 1/2 cup unsweetened cocoa powder: Adds a deep chocolate flavor without the extra sugar. You can also use carob powder for a different taste.
- 1/2 cup protein powder: Choose chocolate or vanilla flavored for added sweetness. Plant-based protein powders work beautifully here too.
- 1/4 cup maple syrup or honey: This natural sweetener enhances the flavor while keeping it wholesome. Agave nectar can be a suitable alternative.
- 1 teaspoon vanilla extract: A splash of vanilla brings warmth and depth to the bars. Feel free to experiment with almond extract for a different flavor profile.
- Pinch of salt: Balances the sweetness and enhances the chocolate flavor.
- 1/2 cup chocolate chips: Opt for sugar-free or dark chocolate chips for a healthier choice. You can even swap them for dried fruits like cranberries or raisins!
Step-By-Step Instructions to Create Your Bars
Now that we have our ingredients ready, let’s roll up our sleeves and get started on making these delightful bars!
- Prepare your pan: Line an 8×8 inch baking dish with parchment paper, allowing some overhang on the sides. This will help you lift the bars out easily once they’re set.
- Blend the base ingredients: In a food processor, combine the cottage cheese, cocoa powder, protein powder, maple syrup (or honey), vanilla extract, and a pinch of salt. Process until everything is smooth and creamy, resembling a thick chocolate batter.
- Fold in chocolate chips: Transfer the mixture to a bowl, and gently fold in the chocolate chips until evenly distributed.
- Press into the pan: Pour the mixture into your prepared baking dish, spreading it evenly and pressing down firmly to create a compact surface.
- Chill to set: Place the baking dish in the refrigerator for at least 30 minutes, or until the bars are firm. For a firmer texture, chill for an hour or two, or pop them in the freezer for 15-20 minutes.
- Cut and serve: Once chilled and firm, use the parchment paper to lift the bars out. Place them on a cutting board and slice into 12-16 bars, depending on your preference. Enjoy immediately, or store for later!
Pro Tips for Perfect Bars
- Mix it Well: Ensure your mixture is completely smooth for the best texture. Be patient with your food processor!
- Don’t Skip the Chill: Chilling the bars is crucial for them to hold their shape. It’s worth the wait!
- Experiment with Flavors: Try adding a tablespoon of espresso powder for a mocha twist or a sprinkle of cinnamon for warmth.
- Use Quality Ingredients: Whenever possible, opt for high-quality cocoa powder and chocolate chips to elevate the flavor.
- Store Properly: Keep your bars in an airtight container in the refrigerator for up to a week or freeze for longer storage.
Common Mistakes and Troubleshooting
Even the best of us can make mistakes in the kitchen. Here are some common slip-ups and how to avoid them:
- Too Dry or Crumbly Bars: If your mixture feels dry, add a splash more maple syrup or a little more cottage cheese to achieve the right consistency.
- Sticky Bars: If your bars are too sticky, they may not have chilled long enough. Ensure they are properly set before cutting.
- Uneven Slicing: For perfectly sliced bars, use a sharp knife and warm it slightly under hot water before cutting.
Delicious Variations to Try
One of the best things about these high-protein chocolate bars is how easily they can be adapted. Here are some fun variations to try:
- Nutty Delight: Fold in 1/4 cup of chopped nuts (like almonds or walnuts) for added crunch and flavor.
- Fruity Twist: Add 1/4 cup of dried fruits like raisins or apricots for a touch of sweetness and texture.
- Peanut Butter Swirl: Mix in 1/4 cup of creamy peanut butter for a rich, nutty flavor that pairs beautifully with chocolate.
- Mint Chocolate: Add a few drops of peppermint extract to the mixture for a refreshing mint chocolate flavor that’s perfect for the holidays.
Storage and Make-Ahead Instructions
These bars are perfect for meal prep! Here’s how to store them:
- Refrigerate: Keep them in an airtight container in the fridge for up to one week.
- Freeze: For longer storage, wrap individual bars in plastic wrap and place them in a freezer bag. They’ll last for up to three months.
- Thawing: To enjoy frozen bars, simply remove them from the freezer and let them sit at room temperature for about 10-15 minutes before indulging.
Frequently Asked Questions
Let’s address some common questions about these high-protein chocolate bars:
- Can I use a different protein powder? Yes, any flavor of protein powder will work, including plant-based options!
- Are these bars gluten-free? They are gluten-free as long as you use certified gluten-free oats and ingredients.
- How can I make these bars vegan? Substitute cottage cheese with silken tofu and use maple syrup as the sweetener.
- What if I don’t have a food processor? You can mix the ingredients by hand, though the texture may be less smooth.
- How do I know when they’re set? They should feel firm to the touch and hold their shape when lifted from the pan.
- Can I add other flavors? Absolutely! Experiment with spices or extracts to find your perfect combination.
- What’s the best way to cut the bars? A sharp knife works best. For clean cuts, you can warm the knife under hot water.
- Can these bars be made in advance? Yes! They are perfect for meal prep and can be made ahead of time.
Nutritional Tips and Dietary Adaptations
These bars are not just delicious; they’re also nutritious! Here are some tips to enhance their health benefits:
- Protein Boost: Increase the protein content by adding an extra scoop of protein powder or incorporating nut butter.
- Lower Sugar: Reduce the maple syrup or honey to make them even lower in sugar. You can also use a sugar substitute if preferred.
- Fiber Addition: Add flax seeds or chia seeds to the mixture for a fiber boost.
Essential Equipment for Success
To successfully create these bars, here’s a list of equipment you’ll need:
- Food Processor: Essential for achieving that creamy base.
- Baking Dish: An 8×8 inch dish is perfect for this recipe.
- Parchment Paper: Helps with easy removal of the bars.
- Spatula: Useful for spreading and pressing down the mixture.
- Sharp Knife: For cleanly cutting the bars once set.
Serving Suggestions
These bars are perfect for any occasion! Here are some serving ideas:
- As a Snack: Enjoy them on their own for a quick pick-me-up.
- With Fruit: Pair with fresh berries or banana slices for a balanced snack.
- Crumbled over Yogurt: Add crumbled bars to your morning yogurt for crunch and flavor.
- Drizzled with Chocolate: For an extra touch of decadence, drizzle melted chocolate over the top before chilling.
In conclusion, these no-bake high-protein chocolate bars are more than just a treat; they are a testament to the love and joy that comes from cooking and sharing food. Each bar is a perfect blend of nutrition, flavor, and nostalgia, making them a delightful addition to your kitchen repertoire. So gather your loved ones, get cooking, and remember that the best recipes are those made with love. Enjoy every bite!
High-Protein Chocolate Bars (No-Bake)
Ingredients
Base ingredients
- 1 1/2 cups full-fat cottage cheese
- 1/2 cup unsweetened cocoa powder
- 1/2 cup protein powder (chocolate or vanilla flavored)
- 1/4 cup maple syrup or honey
- 1 teaspoon vanilla extract
- Pinch salt
- 1/2 cup chocolate chips (sugar-free or dark chocolate recommended)
Instructions
- Line an 8x8 inch baking dish with parchment paper.
- Blend cottage cheese, cocoa powder, protein powder, maple syrup, vanilla, and salt until smooth.
- Fold in chocolate chips evenly.
- Press mixture into the prepared dish and smooth the top.
- Refrigerate for at least 30 minutes until firm.
- Lift out using parchment, cut into 12 bars, and serve.