
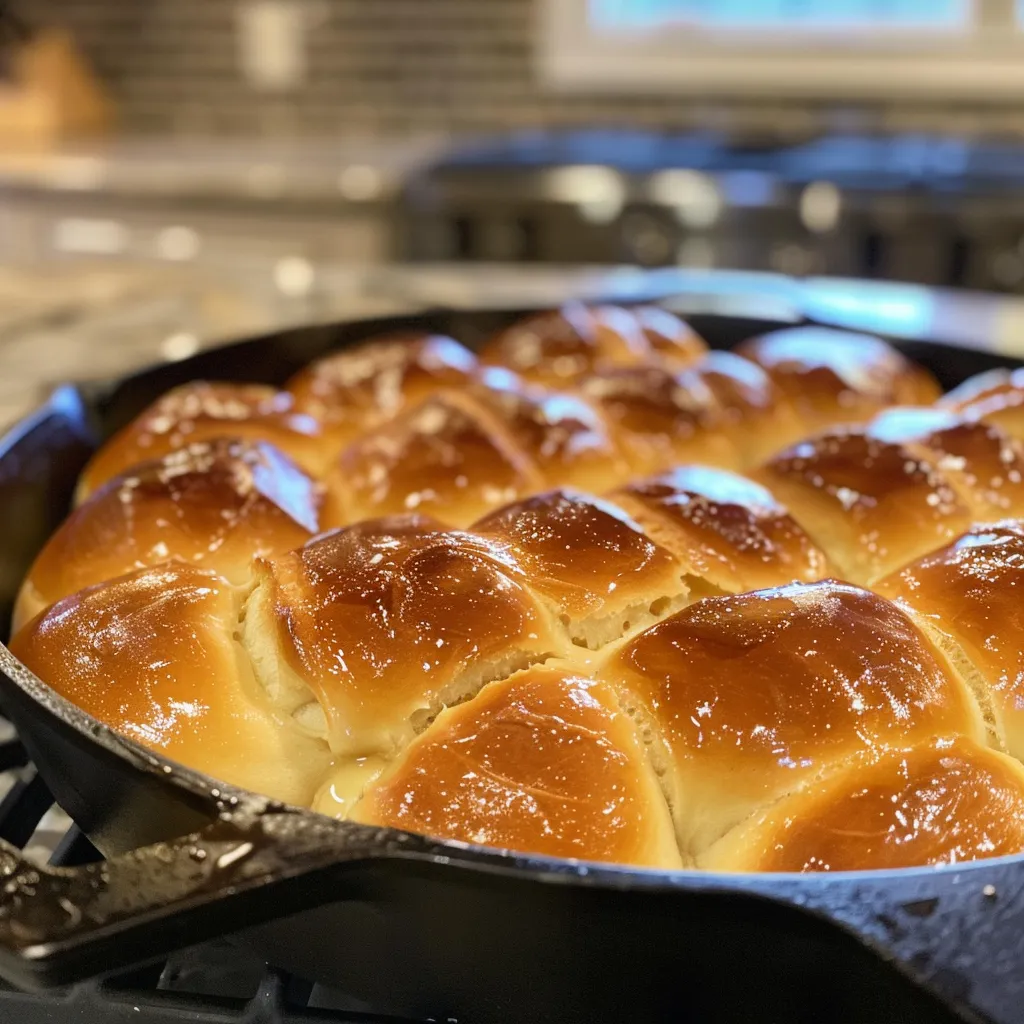
Embracing Tradition: The Joy of Baking Skillet Dinner Rolls
Welcome to the comforting world of baking where every roll is a hug, and every bite whispers memories of home. Today, we’re diving into the delightful recipe of Skillet Dinner Rolls, a dish that’s not just about satisfying your hunger but about bringing family together around the table. Soft, warm, and buttery, these rolls are a reminder that food is love, shared and cherished. In this comprehensive guide, you’ll discover everything from the ingredients to expert tips that will ensure your dinner rolls are the highlight of your meal.
Why You’ll Love This Recipe
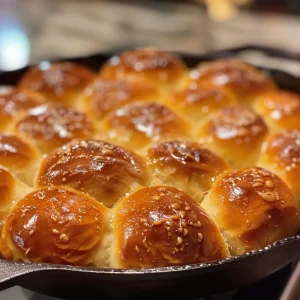
- Soft and Buttery: These rolls emerge from the oven with a golden crust and a tender, fluffy interior that melts in your mouth.
- Quick Preparation: With a total time of just over two hours, you can have fresh rolls ready for dinner without spending all day in the kitchen.
- Family-Friendly: Kids and adults alike will love the warm, comforting flavor; they’re perfect for any occasion, from weeknight dinners to holiday feasts.
- Versatile Pairing: These rolls complement almost any dish, be it a hearty stew, a savory roast, or even just a spread of butter.
- Make Ahead: You can prepare the dough in advance, letting it rise in the fridge overnight, making your next day stress-free.
The Ingredients: A Closer Look
Understanding the ingredients is key to achieving the best flavor and texture in your Skillet Dinner Rolls. Here’s what you’ll need:
- Active Dry Yeast: 2 packets (total 1/2 oz or 14 g) + 1 tablespoon sugar, essential for the dough’s rise.
- Warm Water: ¼ cup, used to dissolve the yeast. Make sure it’s warm, but not hot, to keep the yeast alive.
- Milk: 1¼ cups, adds richness and moisture to the rolls. You can substitute with almond or oat milk for a dairy-free version.
- Sugar: 5 tablespoons, providing sweetness and helping the yeast activate.
- Salt: ¾ teaspoon, enhances flavor and strengthens gluten structure in the dough.
- Unsalted Butter: ¼ cup, melted, adds flavor and richness.
- All-Purpose Flour: 4½ cups (sifted), the foundation of your rolls. You can use bread flour for a chewier texture.
- Large Egg: 1, adds richness and helps bind the ingredients together.
- Baking Spray: for greasing the skillet, ensuring easy release.
- Kosher Salt: 1 teaspoon, for sprinkling on top before baking.
- Melted Butter: 3 tablespoons, for brushing on top just before serving.
Steps to Create Your Skillet Dinner Rolls
Let’s unfold the process of creating these delightful rolls. Follow these steps for guaranteed success:
- Dissolve the Yeast: In a small bowl, combine the yeast and sugar with warm water. Let it sit for about 5-10 minutes until it becomes frothy.
- Heat the Milk: In a saucepan, gently heat the milk with sugar, salt, and butter until lukewarm. This helps the yeast thrive.
- Combine Ingredients: Add the egg to the yeast mixture. Then, combine the yeast mixture, milk mixture, and all of the flour. Stir well to combine.
- Rest the Dough: Cover the dough and let it rest for 15 minutes. This short rest helps the gluten develop.
- Knead the Dough: Using a stand mixer with a dough hook, knead the dough for about 5 minutes until it’s smooth and elastic.
- Preheat the Oven: Set your oven to 375°F (190°C) while the dough rises.
- Shape the Rolls: On a floured surface, roll out the dough and divide it into 18 balls, each the size of a small tennis ball.
- Second Rise: Cover the dough balls and let them rise for 25 minutes. This allows them to puff up beautifully.
- Prepare the Skillet: Spray a 10-inch (25 cm) cast-iron skillet with baking spray and arrange the dough balls inside it. Sprinkle kosher salt evenly over the surface.
- Bake: Place the skillet in the oven and bake for 10-12 minutes, or until the rolls are golden brown.
- Finish with Butter: Brush with melted butter as soon as they come out of the oven and serve warm.
Pro Tips for Perfect Rolls
- Temperature Matters: Ensure that your water and milk are at the right temperature—too hot can kill the yeast, while too cold can prevent it from activating.
- Don’t Skip the Kneading: Kneading develops gluten, which gives the rolls their structure and chew. If using a mixer, don’t rush this step.
- Use Fresh Yeast: Ensure your yeast is fresh for optimal rising. Check the expiration date before starting.
- Flour Gradually: Add flour gradually during kneading to avoid a dry dough. The perfect dough should be slightly tacky but not sticky.
- Watch the Oven: Ovens can vary; keep an eye on your rolls in the last few minutes of baking to prevent over-browning.
- Brush with Butter: Brushing with melted butter not only adds flavor but also keeps the rolls soft.
- Let Them Cool Slightly: Allow the rolls to cool for about 5 minutes in the skillet before serving for easier removal.
- Experiment with Flavors: Consider adding herbs or garlic to the dough for a unique twist on flavor.
Common Mistakes and Troubleshooting
Even the best of us can face hiccups in the kitchen. Here are some common mistakes and how to avoid them:
- Dough Not Rising: This can happen if the yeast is expired or if the liquid used is too hot or too cold. Always check your ingredients!
- Dry Rolls: If your rolls come out dry, it’s likely due to overbaking. Keep an eye on them, especially towards the end of the baking time.
- Too Dense: If the rolls are dense, they may not have been kneaded enough or the dough didn’t rise sufficiently.
- Not Enough Flavor: If your rolls taste bland, consider adding more salt or trying a different type of butter.
Variations to Try
Get creative with your skillet dinner rolls! Here are some delicious variations:
- Herb-Infused Rolls: Add fresh herbs like rosemary or thyme into the dough for a fragrant twist.
- Cheesy Rolls: Fold in shredded cheese like cheddar or mozzarella before shaping the dough balls for a cheesy surprise.
- Sweet Rolls: Incorporate cinnamon and sugar into the dough for a sweet breakfast option, perfect with a drizzle of icing.
- Garlic Butter Rolls: Brush the rolls with a mixture of melted butter and minced garlic before baking for a savory flavor.
Storage and Make-Ahead Instructions
Planning ahead? Here’s how to store your rolls:
- Storing Baked Rolls: Keep baked rolls in an airtight container at room temperature for up to 3 days. To keep them fresh longer, refrigerate them for up to a week.
- Freezing Baked Rolls: Freeze baked rolls in a zip-top bag for up to 3 months. Reheat in the oven until warmed through.
- Make-Ahead Dough: You can prepare the dough a day in advance. After kneading, let it rise until doubled in size, then punch it down, cover, and refrigerate overnight. Take it out 30 minutes before shaping.
FAQ: Your Skillet Dinner Rolls Questions Answered
- Can I use instant yeast instead of active dry yeast? Yes! Just use the same amount and skip the step of dissolving it in water.
- What if my dough is too sticky? Add a little more flour gradually until the desired consistency is achieved.
- Can I bake these rolls in a different pan? Yes, any oven-safe dish will work, but the cast iron skillet gives the best crust.
- How do I know when the rolls are done? They should be golden brown on top and sound hollow when tapped.
- Can I add spices to the dough? Absolutely! Feel free to experiment with spices like garlic powder or onion powder for added flavor.
- How long can I store the dough before baking? The dough can be stored in the refrigerator for up to 24 hours before baking.
- Do I need to let the rolls rise again after shaping? Yes, they need a second rise to become fluffy and light.
- What’s the best way to reheat leftover rolls? Reheat in the oven at 350°F for about 10 minutes until warmed through.
Nutrition Tips and Dietary Adaptations
If you’re looking for ways to adapt this recipe to your dietary needs:
- Gluten-Free: Substitute all-purpose flour with a 1:1 gluten-free flour blend.
- Dairy-Free: Use plant-based milk and vegan butter to make the recipe dairy-free.
- Reduced Sugar: You can cut back on sugar in the dough if you prefer less sweetness.
Recommended Kitchen Equipment
To bake these rolls like a pro, consider these essential tools:
- Mixing Bowls: A set of mixing bowls in various sizes for combining ingredients.
- Stand Mixer: Makes kneading the dough much easier, but you can also knead by hand.
- Cast Iron Skillet: Perfect for baking and serving the rolls.
- Spatula: For easily transferring dough and rolls.
- Measuring Cups and Spoons: Ensures accurate measurements for perfect results.
Serving Suggestions
To truly elevate your dining experience, consider serving these rolls with:
- Homemade Garlic Butter: A simple blend of butter, garlic, and parsley will enhance the flavor.
- Herb-Infused Olive Oil: A drizzle of oil infused with herbs can add a gourmet touch.
- Savory Dips: Pair with creamy dips like ranch or spinach-artichoke for an appetizer twist.
- Accompanying Dishes: These rolls are excellent alongside soups, stews, or a hearty salad.
As you embark on this baking journey, remember that the heart of cooking lies in the love and care you put into it. Each Skillet Dinner Roll is a testament to the joy of sharing a meal with loved ones. Whether it’s a holiday gathering or a simple weeknight dinner, these rolls are sure to bring warmth to your table. So roll up your sleeves, gather your ingredients, and let’s bake up some memories!
Skillet Dinner Rolls
Ingredients
Yeast and Sugar
- 0.5 oz active dry yeast 2 packets
- 1 tablespoon sugar
Dairy and Sweeteners
- 0.25 cup warm water
- 1.25 cups milk
- 5 tablespoons sugar
- 0.75 teaspoon salt
Fats and Eggs
- 0.25 cup unsalted butter
- 1 large egg
Flour
- 4.5 cups all-purpose flour sifted
Additional Ingredients
- 1 teaspoon kosher salt
- 3 tablespoons unsalted butter melted
Instructions
- Dissolve yeast and sugar in warm water; heat milk with sugar, salt, and butter until lukewarm.
- Add egg to yeast mixture; combine with milk mixture and flour. Rest for 15 minutes, then knead for 5 minutes.
- Preheat oven to 375°F (190°C). Shape dough into 18 balls, let rise 25 minutes, then arrange in a greased skillet. Sprinkle with kosher salt.
- Bake for 10–12 minutes until golden brown. Brush with melted butter and serve warm.