
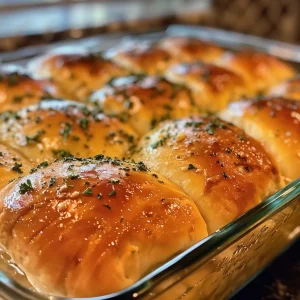
Welcome to the Heart of the Kitchen: Discovering Homemade Dinner Buns
There’s something magical about the aroma of freshly baked bread wafting through your home. If you’ve ever sat around a table filled with laughter and warmth, you know that food is more than just sustenance; it’s a way to connect. Today, I invite you to join me in making homemade dinner buns—a cherished family recipe that not only fills your stomach but also warms your heart. This recipe is perfect for gatherings, family dinners, or simply enjoying with a bit of butter and jam on a quiet Sunday morning. Let’s dive into the delightful world of baking and create something truly special together!
Why You’ll Love This Recipe
- Unmatched Flavor: These buns are soft and fluffy, infused with a hint of sweetness that makes each bite a comforting hug.
- Simple Ingredients: Made with pantry staples, you can whip these up without any fuss, making them perfect for any occasion.
- Versatility: Whether you’re serving them with a hearty stew, using them for sliders, or enjoying them with a spread of butter, these buns are incredibly adaptable.
- Family Tradition: This recipe is steeped in nostalgia, reminiscent of Sunday dinners at grandma’s house, where every bite tells a story.
- Beginner-Friendly: Even if you’re new to baking, this recipe walks you through every step, ensuring delicious results every time.
Gather Your Ingredients
Before we start our baking adventure, let’s gather the essential ingredients:
- 3 1/2 cups all-purpose flour: This provides the structure for our buns.
- 1 teaspoon active dry yeast: The magic ingredient that makes our buns rise.
- 2 tablespoons sugar: A touch of sweetness to enhance the flavor.
- 1 teaspoon salt: Balances the sweetness and enhances overall taste.
- 1 cup warm milk (about 110°F): Activates the yeast, making our buns light and fluffy.
- 1/4 cup unsalted butter, melted: Adds richness and flavor.
- 1 large egg, beaten: Helps bind the ingredients together and adds moisture.
- 1/4 cup water: To adjust the dough consistency.
Step-by-Step Instructions
Let’s roll up our sleeves and get our hands a bit floury! Here’s how to make these delightful homemade dinner buns:
- Activate the Yeast: Warm your milk to about 110°F (slightly warm to the touch) and stir in the sugar and active dry yeast. Let it sit for 5 to 10 minutes until foamy—this means the yeast is alive and ready to work its magic.
- Mix the Dough: In a large bowl, combine the flour and salt. Add the yeast mixture, melted butter, beaten egg, and water. Stir everything until just combined, and the dough begins to come together.
- Knead the Dough: Turn the dough out onto a lightly floured surface. Knead for about 8 to 10 minutes until the dough is smooth, elastic, and slightly tacky but not sticky. This step is crucial for developing the gluten, which gives our buns that perfect texture.
- First Rise: Place the dough in a greased bowl and cover with a clean towel or plastic wrap. Let it rise in a warm place for about 1 hour, or until doubled in size.
- Shape the Buns: Once risen, punch down the dough and divide it into 8 to 10 equal pieces. Shape each piece into a round bun and place them on a greased or parchment-lined baking sheet.
- Second Rise: Cover the buns again and let rise for 30 to 40 minutes until puffy and nearly doubled.
- Bake: Preheat your oven to 375°F (190°C). For a golden, shiny top, brush the buns lightly with egg wash. Bake for 15 to 18 minutes or until golden brown and cooked through.
Pro Tips for Perfect Buns
- Check the Yeast: Always ensure your yeast is fresh. If your mixture doesn’t foam, the yeast may be dead.
- Room Temperature Ingredients: Bringing your ingredients to room temperature before mixing can help with dough consistency.
- Don’t Rush the Rise: Allowing sufficient time for the dough to rise is key; this is where the magic happens.
- Experiment with Flours: If you want a healthier twist, try using whole wheat flour or a gluten-free alternative.
- Add Herbs or Cheese: For a flavor boost, consider mixing in herbs like rosemary or adding shredded cheese into the dough.
- Store Properly: Keep your buns fresh by storing them in an airtight container at room temperature.
- Freeze for Later: These buns freeze beautifully! Just wrap them tightly and place them in the freezer for up to 3 months.
- Use a Kitchen Scale: For precise measurements, especially with flour, a kitchen scale can ensure consistency.
Common Mistakes and Troubleshooting
Even the best bakers can encounter challenges. Here are some common mistakes and how to fix them:
- Dense Buns: If your buns come out dense, it might be due to over-kneading or not allowing enough rise time.
- Yeast Not Rising: If your yeast doesn’t activate, check the temperature of your milk; it should be warm, not hot.
- Burnt Tops: If the tops of your buns brown too quickly, consider covering them with aluminum foil during the last few minutes of baking.
- Too Sticky or Dry Dough: Adjust with small amounts of flour or water as needed during the kneading process.
Delicious Variations to Try
Once you’ve mastered the basic recipe, feel free to get creative! Here are some variations to tantalize your taste buds:
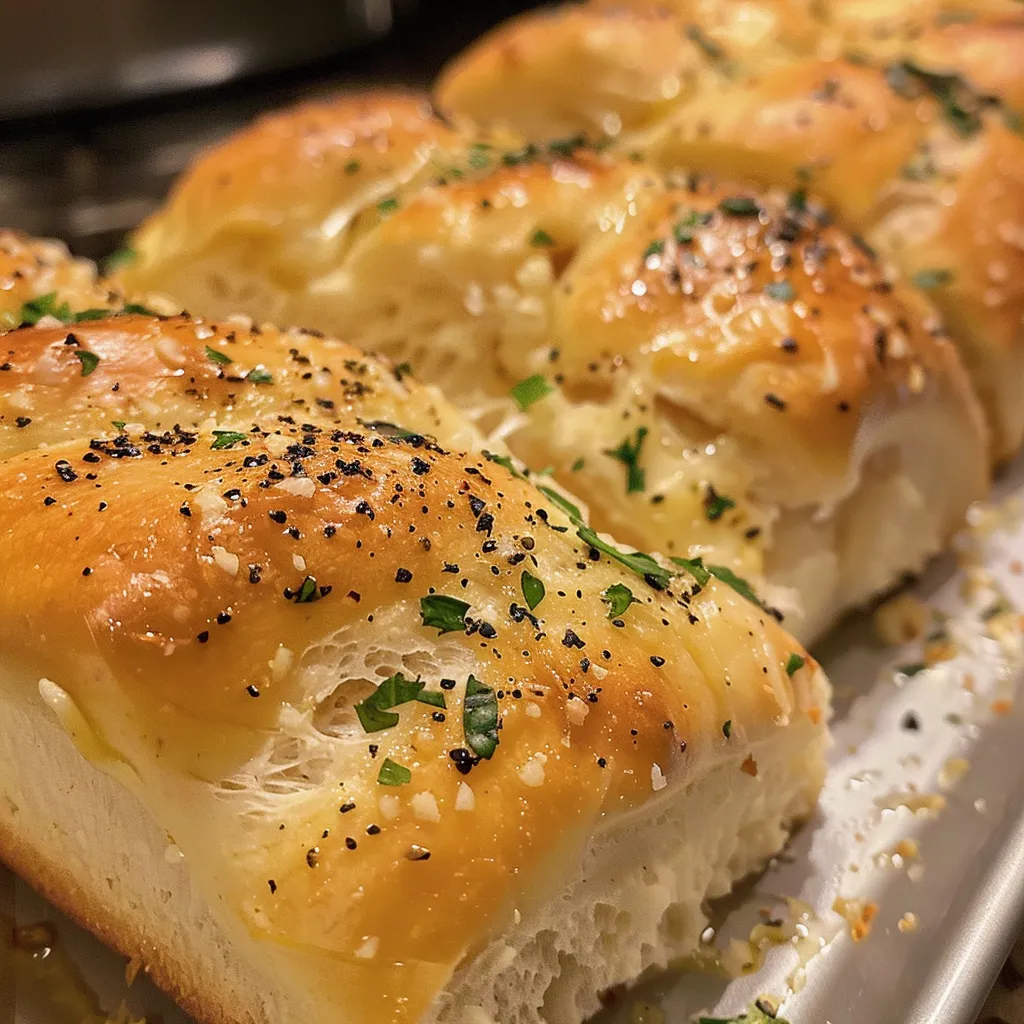
- Garlic Herb Dinner Buns: Add minced garlic and fresh herbs to the dough for a fragrant twist.
- Cinnamon Sugar Buns: Roll the dough in a mixture of cinnamon and sugar before shaping for a sweet treat.
- Cheddar Chive Buns: Incorporate sharp cheddar cheese and chopped chives into the dough for a savory version.
- Whole Wheat Dinner Buns: Substitute half of the all-purpose flour with whole wheat flour for a nuttier flavor and added health benefits.
Storage and Make-Ahead Instructions
To enjoy your homemade dinner buns at their best, here are some storage tips:
- Room Temperature: Store buns in an airtight container at room temperature for up to 3 days.
- Freezing: These buns can be frozen for up to 3 months. Just wrap them tightly in plastic wrap and then place them in a freezer bag.
- Reheating: To reheat, place frozen buns in a preheated oven at 350°F (175°C) for about 10-15 minutes.
- Make-Ahead Option: Prepare the dough up to the first rise, then refrigerate it overnight. Shape and bake the next day!
Frequently Asked Questions
Here are some common queries I hear about making these delightful buns:
- Can I use instant yeast instead of active dry yeast? Yes, you can! Just mix it directly with the flour, skipping the activation step.
- What can I serve with these buns? They pair wonderfully with soups, stews, or simply with a pat of butter and jam.
- How do I know when the dough has risen enough? The dough should be double in size and feel light and airy to the touch.
- Can I make these buns gluten-free? Absolutely! Use a gluten-free flour blend and ensure your yeast is gluten-free.
- What should I do if the dough is too sticky? Dust your hands and the surface with flour as you knead to help manage the stickiness.
- How long do these buns stay fresh? They are best enjoyed within 3 days, but you can freeze them for longer storage.
- Can I add fillings to the buns? Certainly! Cheese, herbs, or even sweet fillings can be added before shaping.
- What if I don’t have a stand mixer? No worries! You can knead the dough by hand; it just takes a little more time and effort.
Nourishing the Body and Soul
As we wrap up our delightful baking journey today, remember that making homemade dinner buns is not just about the end product; it’s about the love, care, and memories created along the way. Each time you knead the dough or shape the buns, you’re weaving stories and traditions that will be passed down through generations. So gather your loved ones, roll up your sleeves, and let the warmth of baking fill your home with joy. Happy baking, my friends!
Homemade Dinner Buns
Ingredients
Dough
- 3 1/2 cups all-purpose flour
- 1 teaspoon active dry yeast
- 2 tablespoons sugar
- 1 teaspoon salt
- 1 cup warm milk about 110°F
- 1/4 cup unsalted butter, melted
- 1 large egg, beaten
- 1/4 cup water
Instructions
- Mix warm milk, sugar, and yeast; let sit 5-10 mins until foamy.
- Combine flour and salt; add yeast mixture, melted butter, egg, and water. Mix until just combined.
- Knead dough 8-10 mins until smooth and elastic. Let rise in a greased bowl for 1 hour.
- Punch down dough, divide into 8-10 pieces, shape into buns, and place on a baking sheet. Let rise 30-40 mins.
- Preheat oven to 375°F (190°C). Brush buns with egg wash and bake 15-18 mins until golden.