
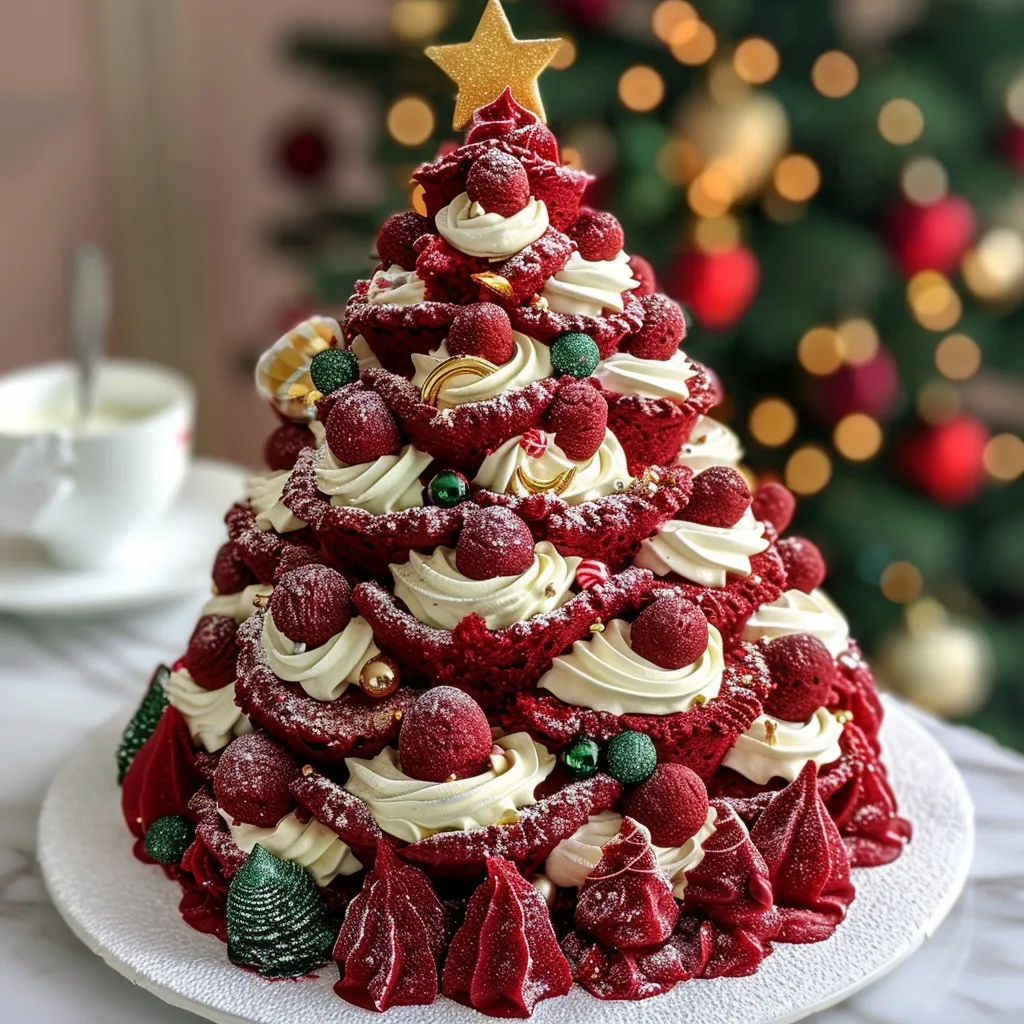
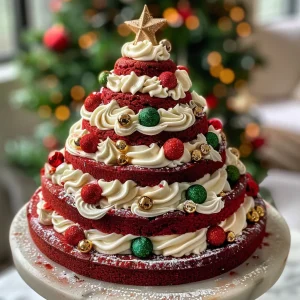
There’s something magical about the holiday season, a time when the aroma of fresh-baked goods fills the air and the warmth of loved ones surrounds you. This year, let’s celebrate with a beautiful and delicious Red Velvet Christmas Tree, a recipe that’s not only a feast for the eyes but also a heartwarming treat that brings families together. In this guide, we will walk through every step of creating this stunning dessert, ensuring it becomes a cherished tradition in your home.
Why You’ll Love This Recipe
This Red Velvet Christmas Tree is more than just a cake; it’s a celebration of love, creativity, and togetherness. Here are some reasons why this recipe will become a favorite:
- Stunning Presentation: The vibrant red and lush green frosting create a visually striking centerpiece that will impress guests and family alike.
- Deliciously Moist: The combination of buttermilk and veggie oil makes this cake incredibly moist and tender, melting in your mouth with every bite.
- Easy to Customize: You can easily adapt this recipe to fit your holiday decor and personal tastes, making it uniquely yours.
- Perfect for Sharing: This cake is ideal for gatherings, spreading joy and sweetness amongst friends and family during the festive season.
- Brings Back Memories: Each bite evokes nostalgia, reminding us of cherished moments spent baking with loved ones.
Ingredients Breakdown
Before we dive into the baking, let’s take a closer look at the ingredients you’ll need to create this delightful Red Velvet Christmas Tree. Each component plays a vital role in achieving that classic flavor and texture.
- 2 1/2 cups all-purpose flour: This forms the cake’s structure, giving it the perfect balance between lightness and density.
- 2 cups granulated sugar: Sweetens the cake while contributing to its moistness.
- 1 tsp baking soda: Helps the cake rise to fluffy perfection.
- 1 tsp salt: Balances the sweetness and enhances flavor.
- 1 tsp cocoa powder: Just a hint of cocoa brings out the rich, chocolatey undertones without overpowering the red velvet flavor.
- 1 1/2 cups vegetable oil: Keeps the cake moist and tender.
- 2 large eggs: Acts as a binding agent, providing structure and richness.
- 1 cup buttermilk: Adds moisture and a subtle tang that complements the sweetness.
- 2 tbsp red food coloring: Gives the cake its iconic vibrant hue.
- 1 tsp vanilla extract: Enhances the overall flavor profile.
- 1 tsp white vinegar: Reacts with the baking soda to create a light texture.
- 1 1/2 cups unsalted butter, softened: Essential for a rich, creamy frosting.
- 2 packages (8 oz) cream cheese, softened: The star of the frosting, lending a tangy flavor that pairs beautifully with the sweetness of the cake.
- 4 cups powdered sugar: Adds sweetness and thickens the frosting.
- Green food coloring: For decorating your tree, adding that festive touch.
- Red and green fondant balls: Perfect for embellishing your Christmas tree.
- Gold edible beads: Adds a touch of elegance to your cake.
- Small edible glitter or sugar crystals (optional): For a magical finishing touch.
- A small edible gold star: The crowning glory of your cake.
Step-by-Step Instructions
Now that we have gathered our ingredients, let’s dive into the step-by-step process of creating this delightful cake.
- Preheat your oven: Set your oven to 350°F (175°C) and grease and line three 6-inch round cake pans.
- Mix dry ingredients: In a large bowl, whisk together flour, sugar, baking soda, salt, and cocoa powder until well combined.
- Combine wet ingredients: In another bowl, whisk together vegetable oil, eggs, buttermilk, red food coloring, vanilla, and vinegar until smooth.
- Create the batter: Gradually add the wet mixture to the dry ingredients, stirring until the batter is smooth and well combined.
- Bake the cakes: Divide the batter evenly among the prepared pans and bake for 25-30 minutes, or until a toothpick comes out clean. Allow the cakes to cool in the pans for about 10 minutes before transferring them to a wire rack to cool completely.
- Prepare the frosting: In a mixing bowl, beat the softened butter and cream cheese together until fluffy. Gradually add in the powdered sugar, mixing until smooth and creamy. Stir in vanilla extract for added flavor.
- Assemble the cake: Once the cakes are completely cool, level each layer using a serrated knife. Stack the layers from largest to smallest, spreading a generous layer of cream cheese frosting between each layer.
- Frost the cake: Cover the entire cake with a thick layer of cream cheese frosting. Use green food coloring to tint some frosting and pipe decorations using a star tip for a festive look.
- Add decorations: Decorate your cake with fondant balls, edible gold beads, and finish off with a small edible gold star on top. For an extra sparkling touch, lightly dust with edible glitter or sugar crystals.
Pro Tips for Success
Here are some expert insights to ensure your Red Velvet Christmas Tree turns out perfectly:
- Room temperature ingredients: Make sure all ingredients, especially eggs and butter, are at room temperature for a smoother batter.
- Don’t overmix: Mix just until combined to avoid a dense cake.
- Check for doneness: Use a toothpick to check if your cakes are done; it should come out clean or with a few moist crumbs.
- Crumb coat: Apply a thin layer of frosting around the cake to seal in the crumbs before your final frosting layer.
- Chill the cake: Refrigerating the cake for 30 minutes before serving will help the frosting set nicely.
- Use a serrated knife: For leveling your cake layers, a serrated knife works wonders for a clean cut.
- Experiment with flavors: If you want a twist, try adding a hint of almond extract to the frosting for a different flavor profile.
- Choose high-quality food coloring: Using gel food coloring will yield a more vibrant red without altering the cake’s consistency.
- Make it ahead: You can bake the cakes a day in advance and frost them the next day for easier preparation.
- Have fun decorating: Let your creativity shine! Use any festive decorations you like to make it your own.
Common Mistakes and Troubleshooting
Even the best bakers can run into a few bumps along the way. Here are some common mistakes to watch out for:
- Dense cake: This can happen if you overmix the batter. Mix just until everything is combined.
- Dry cake: If overbaked, the cake can become dry. Keep an eye on it towards the end of baking.
- Frosting too runny: If your frosting is too runny, add more powdered sugar until it reaches the desired consistency.
- Uneven layers: When leveling the cakes, be sure to cut evenly across the top for a balanced look.
- Color fading: If the red color seems to fade after baking, it might be due to using too much cocoa powder. Stick to the recommended amount for the best results.
Variations to Try
Make this Red Velvet Christmas Tree your own with these fun variations:
- Chocolate Ganache Drizzle: Pour a rich chocolate ganache over the top for an indulgent touch.
- Layered with Fruit: Add layers of raspberries or strawberries between the cake for a fruity burst.
- Nutty Twist: Incorporate crushed walnuts or pecans into the cake batter for added texture.
- Different Frosting Flavors: Swap out the cream cheese frosting for a buttercream or whipped cream for a lighter option.
Storage and Make-Ahead Instructions
This cake can be made ahead of time and stored properly to maintain its freshness:
- Room temperature: The cake can be stored at room temperature for up to 2 days, covered with plastic wrap or in an airtight container.
- Refrigerator: If you need to store it longer, refrigerate it for up to a week. Ensure it’s well covered to prevent it from drying out.
- Freezer: The un-frosted cake layers can be frozen for up to 3 months. Wrap them tightly in plastic wrap and foil before freezing.
Frequently Asked Questions
Let’s address some common queries to help you along the way:
- Can I use a different size cake pan? Yes! Just adjust the baking time accordingly. A larger pan may require more time, while smaller ones will require less.
- What’s the best way to level my cake layers? Use a serrated knife and a gentle sawing motion to achieve a smooth, even top.
- How can I make this recipe gluten-free? Substitute all-purpose flour with a 1:1 gluten-free flour blend for a gluten-free version.
- Can I use natural food coloring? Absolutely! Look for high-quality natural food colorings for a more wholesome option.
- What can I do if my frosting is too thick? Add a splash of milk or cream to loosen it up to your desired consistency.
- How long does the cake last? The frosted cake can last in the fridge for about a week if stored properly.
- Is it necessary to use vinegar? Yes, it reacts with the baking soda to help the cake rise and adds a slight tang to the flavor.
- Can I make this recipe dairy-free? Substitute dairy milk and cream cheese with plant-based alternatives for a dairy-free version.
Nutrition Tips and Dietary Adaptations
For those mindful of their dietary choices, here are a few tips:
- Lower the sugar: You can reduce the sugar by about one-third without significantly affecting the flavor.
- Use whole wheat flour: For a healthier option, substitute half of the all-purpose flour with whole wheat flour.
- Consider vegan substitutes: Replace eggs with flax eggs and use plant-based butter and cream cheese for a vegan version.
Equipment Recommendations
Having the right tools can make a world of difference. Here are a few essentials you might need:
- Mixing bowls: A set of various sizes for mixing ingredients.
- Whisk: For combining wet and dry ingredients smoothly.
- Cake pans: Three 6-inch round cake pans are ideal for this recipe.
- Offset spatula: Perfect for spreading frosting evenly.
- Cooling rack: Helps cakes cool evenly and prevents sogginess.
Serving Suggestions
This Red Velvet Christmas Tree is best served with a side of warm, spiced apple cider or a cup of rich hot chocolate. You can also pair it with fresh berries for a burst of flavor that complements the sweetness of the cake. For an added touch, consider serving slices with a dollop of whipped cream or a scoop of vanilla ice cream.
Final Thoughts
As you craft this festive Red Velvet Christmas Tree, remember that it’s not just about the ingredients or the final product; it’s about the memories you create while baking, the laughter shared with family, and the joy that comes from serving a piece of your heart to those you love. So gather around your kitchen, roll up your sleeves, and let’s make this holiday season unforgettable, one slice at a time!
Red Velvet Christmas Tree
Ingredients
Dry ingredients
- 2 1/2 cups all-purpose flour
- 2 cups granulated sugar
- 1 tsp baking soda
- 1 tsp salt
- 1 tsp cocoa powder
Wet ingredients
- 1 1/2 cups vegetable oil
- 2 large eggs
- 1 cup buttermilk
- 2 tbsp red food coloring
- 1 tsp vanilla extract
- 1 tsp white vinegar
Frosting
- 1 1/2 cups unsalted butter, softened
- 2 packages (8 oz) cream cheese, softened
- 4 cups powdered sugar
- 1 tsp vanilla extract
Decorations
- Green food coloring
- Red and green fondant balls
- Gold edible beads
- Small edible glitter or sugar crystals (optional)
- A small edible gold star
Instructions
- Preheat oven to 350°F (175°C). Grease three 6-inch pans.
- Mix dry ingredients; in another bowl, combine wet ingredients. Combine both mixes until smooth.
- Divide batter into pans; bake 25-30 mins. Cool completely.
- Prepare frosting by beating butter and cream cheese, then add powdered sugar and vanilla.
- Level, stack cakes with frosting, decorate with fondant balls, beads, and star. Dust with glitter.